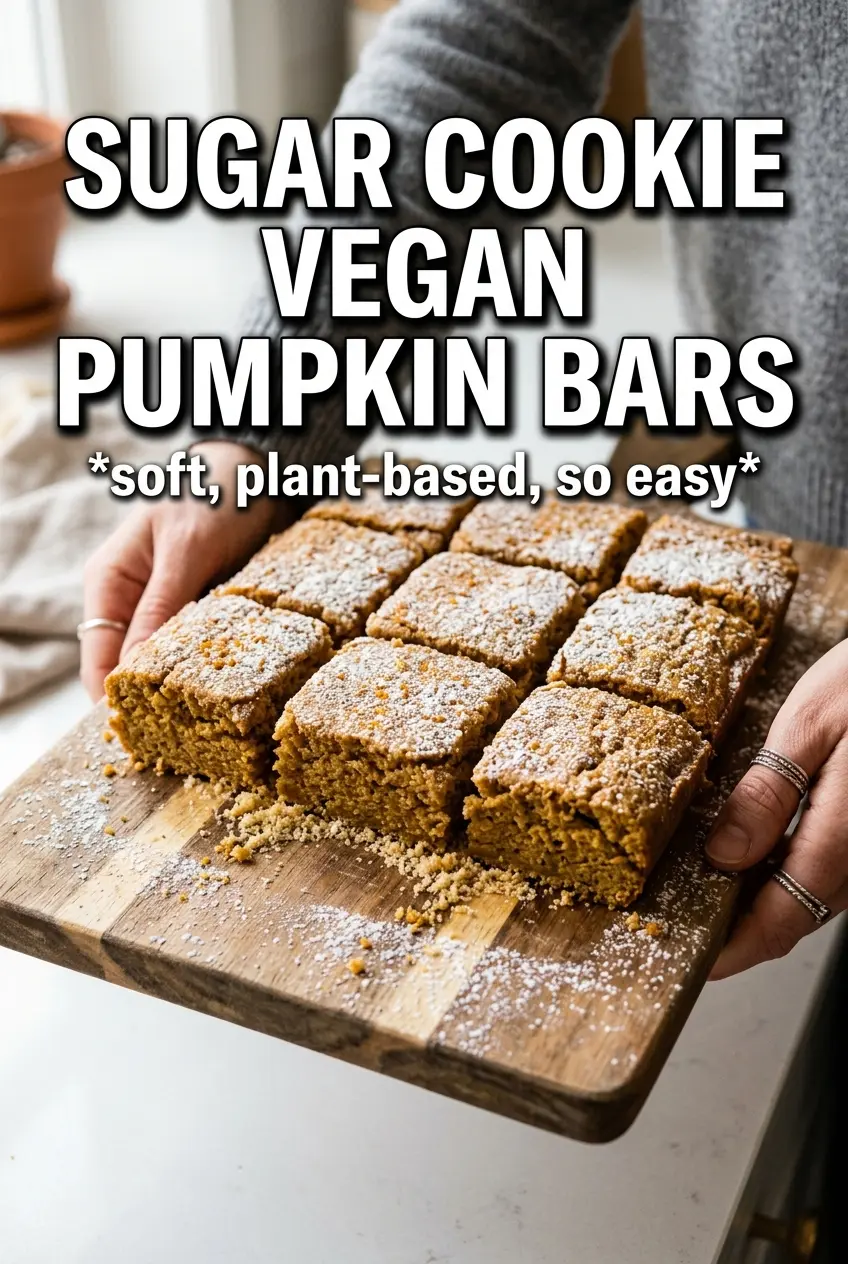
These sugar cookie vegan pumpkin bars hit the sweet spot between a sturdy cookie base and a smooth, spiced pumpkin layer that slices cleanly once chilled. The bottom bakes up tender but not crumbly, so you get a real sugar cookie bite under the custardy filling instead of a soggy crust that disappears after a few hours.
The trick is baking the base just long enough to set it before the pumpkin mixture goes on. That gives the bars structure and keeps the filling from soaking into the dough. Full-fat coconut milk brings the richness you’d normally get from dairy, and the cornstarch does the quiet work of helping the center set without turning rubbery.
Below, I’m walking through the details that matter most: how to keep the crust tender, what to look for when the filling is done, and how to frost the bars so they hold their shape when you cut them.
The cookie base stayed tender even after chilling, and the pumpkin layer set up beautifully. I loved that the frosting didn’t slide around when I cut them the next day.
Save these sugar cookie vegan pumpkin bars for the kind of dessert that slices neatly and holds its frosting after a long chill.
The Reason the Bottom Stays Tender Instead of Turning Dense
The crust works because it’s treated like a shortbread-style cookie layer, not a pie dough. Cold vegan butter gets cut into the dry ingredients until the mixture looks sandy with a few pea-sized bits left behind, and that’s what gives you a tender bite instead of a tough, bready base. If the dough looks dry before the plant milk goes in, that’s normal; too much liquid is what makes it puff and lose that cookie texture.
Prebaking the base for 12 minutes matters more than it sounds. It sets the bottom so the pumpkin filling sits on top instead of sinking through, and it keeps the bars from baking up gummy in the middle. If your pan is darker, start checking a minute early, because the edges can take on too much color before the center has enough structure.
What the Pumpkin Layer Needs to Set Cleanly
- Pumpkin puree — Use plain puree, not pumpkin pie filling. Pie filling already contains sugar and spices, which throws off both the texture and the seasoning balance in this recipe.
- Full-fat coconut milk — This is what gives the filling its creamy body and helps it taste rich without dairy. Light coconut milk won’t set the same way and can leave the bars looser.
- Cornstarch — This is the thickener that makes the filling sliceable after chilling. If you skip it or undermeasure it, the center stays soft in the wrong way and the bars won’t hold clean edges.
- Maple syrup or sugar — Maple adds a rounder sweetness and a little warmth, while sugar keeps the flavor more neutral. Either works, but if you use maple, whisk a little longer so it fully blends into the coconut milk.
- Vegan cream cheese frosting — The frosting gives these bars the tangy finish that keeps them from tasting flat. Chill the bars completely before spreading it on, or the top layer will smear and soften.
Building the Bars So the Layers Stay Separate
Mixing the Cookie Base
Stir the flour, powdered sugar, baking powder, and salt first, then cut in the cold vegan butter until the mixture looks crumbly with small buttery bits throughout. Add the plant milk and vanilla just until the dough comes together; if you work it until smooth, the base turns more like a biscuit than a sugar cookie. Press it evenly into the parchment-lined pan so the corners aren’t too thick, or those edges will bake harder than the center.
Baking the First Layer
Bake the crust until it looks set and lightly matte on top, not browned all over. You want it stable enough to hold the filling, but still tender underneath. If the base puffs in the middle, it usually means the butter was too warm or the dough was overmixed, and you’ll see the filling slide into those weak spots later.
Pouring and Setting the Pumpkin Filling
Whisk the pumpkin mixture until completely smooth before it goes onto the hot crust, because cornstarch clumps show up once the bars bake. Pour it over the base right away and spread it gently to the corners. After the second bake, the center should wobble only slightly when you tap the pan; if it sloshes, it needs more time, but if it looks dry and cracked, it’s already overbaked.
Chilling and Frosting
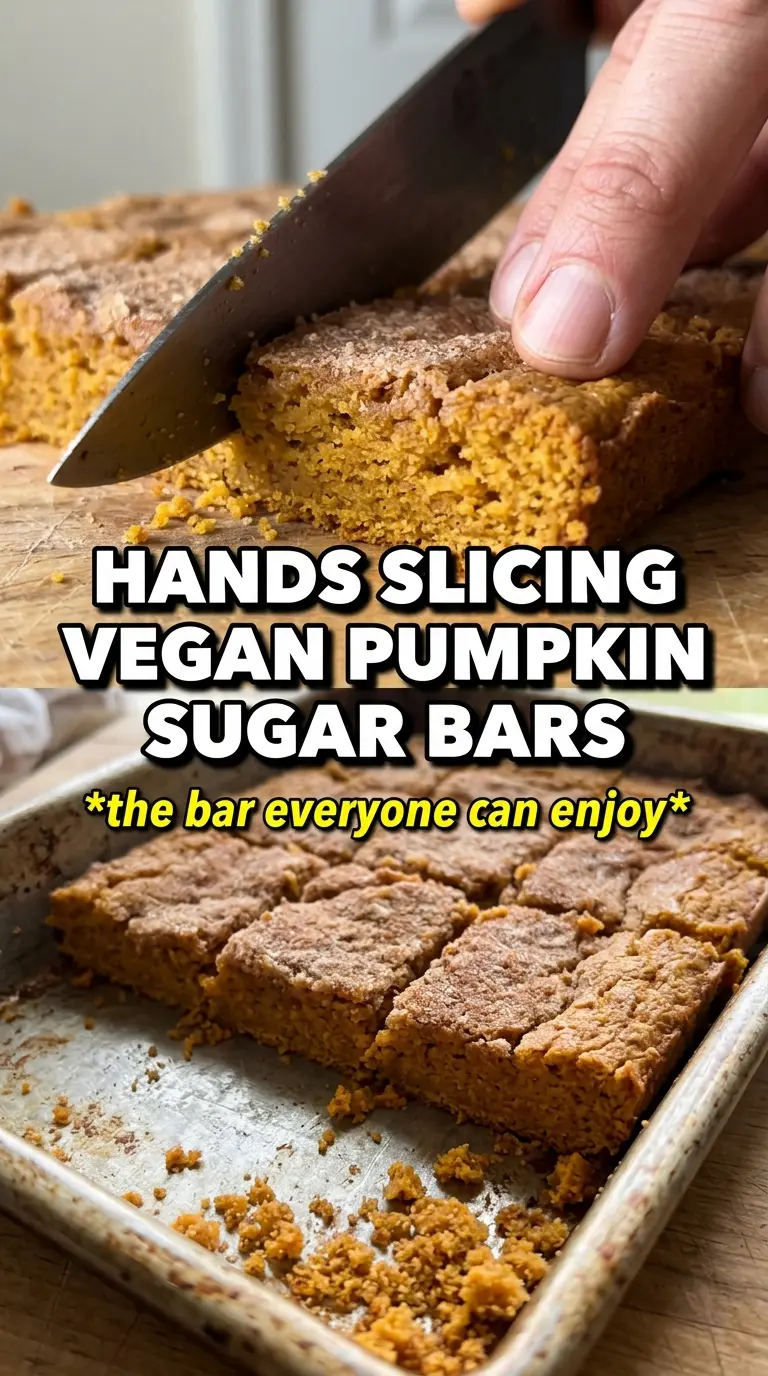
Let the bars cool all the way, then chill them for the full two hours before frosting. That chill time is what gives you neat squares and keeps the frosting from melting into the pumpkin layer. Spread the frosting in an even layer, then cut with a clean knife wiped between slices if you want sharp edges.
Gluten-Free Version
Use a cup-for-cup gluten-free flour blend in place of the all-purpose flour. The base will be a little more delicate, so press it firmly into the pan and chill the bars well before cutting. The pumpkin layer and frosting stay the same.
Lower-Sugar Filling
Swap the maple syrup for the same amount of granulated sugar if you want a slightly cleaner pumpkin spice flavor. The texture stays set either way, but maple adds more depth and a softer sweetness.
Extra Tangy Frosting
If you like a sharper finish, add a touch more vegan cream cheese and cut back on the plant milk. The frosting will be thicker and less sweet, which pairs well with the warm spices in the filling.
Storage and Reheating
- Refrigerator: Store covered for up to 5 days. The bars actually slice better on day two, and the frosting stays firm when chilled.
- Freezer: Freeze unfrosted or frosted bars in a single layer, then wrap well and store for up to 2 months. Thaw in the refrigerator so the filling doesn’t weep.
- Reheating: These are best served cold or lightly chilled, not warmed. If you want the base to soften a little, let a slice sit at room temperature for 10 to 15 minutes instead of microwaving it, which can make the filling loose.