Buttery little pastry cups with silky pumpkin filling give you all the comfort of pumpkin pie in a handheld cookie that disappears fast from a dessert tray. The crust stays tender and flaky, the centers bake up smooth and custardy, and the whipped cream on top adds the cool finish that keeps every bite balanced instead of heavy.
What makes these work is the contrast: a simple short pastry on the bottom, a quick pumpkin custard in the middle, and just enough bake time for the filling to set without drying out. Cold butter matters here because it keeps the cookie cups from turning tough, and pre-baking the shells gives you crisp edges instead of soggy bottoms. That extra step is the difference between a pastry that holds its shape and one that collapses under the filling.
Below, I’m walking through the part that saves these from common mistakes, plus the best way to top and store them so they still taste fresh later.
The crust stayed crisp on the bottom and the filling set up smooth, not runny. I chilled the dough like you said and the cups held their shape perfectly in the mini muffin pan.
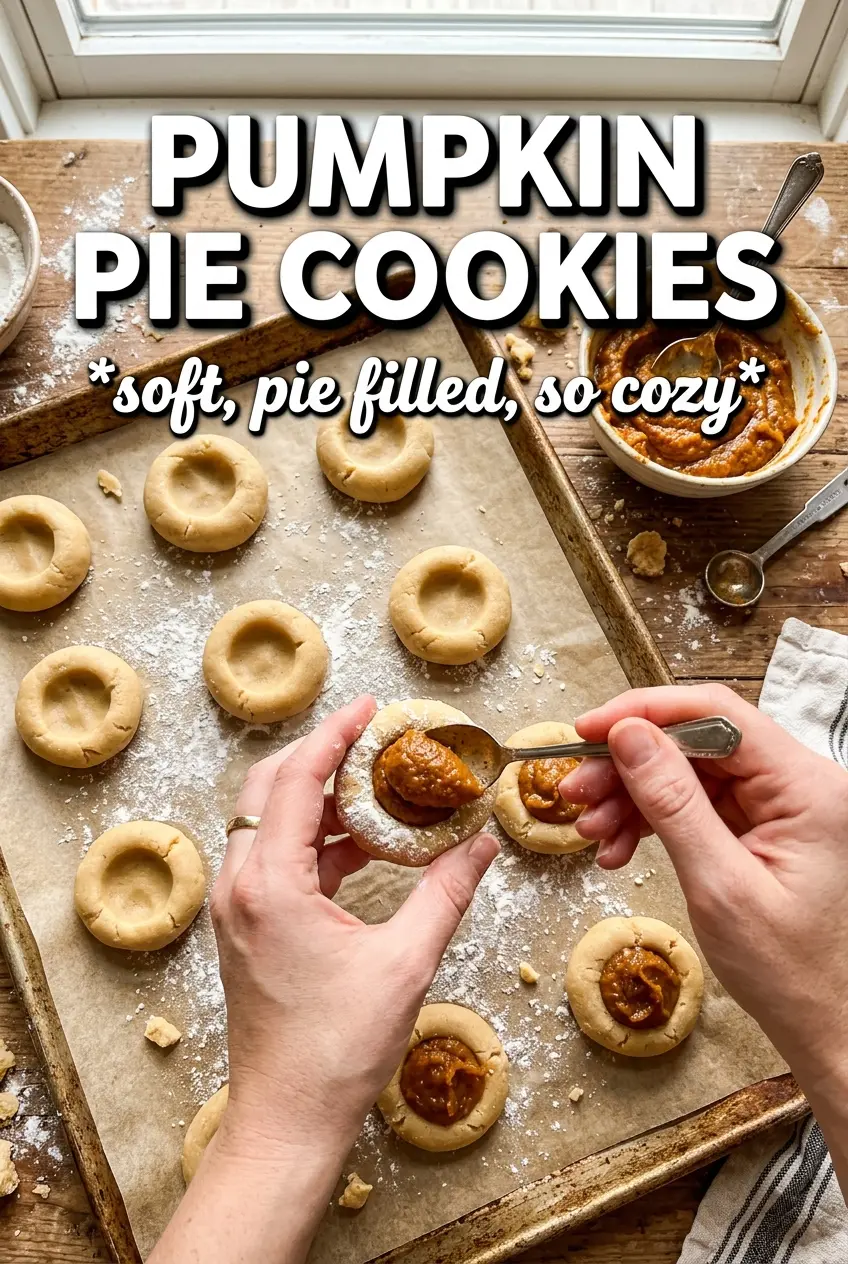
Pumpkin Pie Cookies with flaky pastry cups and silky spiced filling are perfect when you want pie flavor in a one-bite dessert.
The Trick to Keeping the Cookie Cups Crisp Under the Filling
The common failure with pumpkin pie cookie cups is a soft, pale bottom that turns soggy the minute the filling goes in. Pre-baking the crusts changes that. It gives the dough time to set and dry out just enough so the custard can sit on top without soaking straight through.
Chilling the dough matters just as much as the bake itself. Cold butter creates those tiny pockets that bake into a tender crust, and if the dough gets warm before it hits the oven, the cups shrink and lose definition. A greasy, overworked dough will taste fine, but it won’t hold the tidy little edges that make these look like actual mini pies.
- Cold butter — Keep it cubed and cold until the last second. It gives you flaky layers instead of a dense cookie base.
- Ice water — Add just enough for the dough to come together. Too much water makes the crust tough and more likely to puff unevenly.
- Mini muffin tin — Grease it lightly so the cups release cleanly after baking. If the pan is scratched or sticky, line up a thin offset spatula before you unmold them.
What the Pumpkin Filling Needs to Set Up Properly
- Pumpkin puree — Use plain puree, not pumpkin pie filling. The puree gives you control over sweetness and spice, and the texture stays smooth instead of overly wet.
- Sweetened condensed milk — This is doing the heavy lifting for sweetness and body. It thickens the filling as it bakes, so don’t swap in regular milk unless you’re ready to change the whole formula.
- Egg yolk — The yolk adds richness and helps the filling set into a soft custard. A whole egg will firm it up more, which can push it from silky to bouncy.
- Pumpkin pie spice and cinnamon — The spice blend gives the filling its warm backbone, while the extra cinnamon keeps the flavor from tasting flat. If yours is old and faded, replace it; stale spice shows up fast in a simple filling like this.
Building the Pastry Cups Without Losing Their Shape
Mixing the Dough Just Until It Comes Together
Stir the flour, powdered sugar, and salt together first, then cut in the cold butter until the mixture looks like coarse crumbs with a few pea-size bits still visible. Those little butter pieces are what you want. Drizzle in the ice water a tablespoon at a time and stop as soon as the dough holds when pressed. If you knead it smooth, the crust turns dense instead of tender.
Chilling and Rolling the Crust
Wrap the dough and chill it for at least 30 minutes so the butter firms back up. Roll it to about 1/8 inch thick on a lightly floured surface, and if it starts springing back, let it rest for a few minutes before continuing. That rest keeps the circles from shrinking when they bake.
Pre-Baking the Shells
Press the dough circles into a greased mini muffin tin and make sure they reach the bottom edges cleanly. Bake them just until they lose their raw, matte look and start to set, not until they brown deeply. If you overbake at this stage, the final cookies taste dry because they get hit with a second bake after the filling goes in.
Filling and Finishing the Bake
Whisk the pumpkin puree, condensed milk, egg yolk, spice, cinnamon, and salt until completely smooth, then spoon it into the warm shells. Bake until the filling is just set in the center with a slight jiggle; it will firm up as the cookies cool. Let them cool all the way before topping with whipped cream, or the cream will slide right off.
How to Adapt These Pumpkin Pie Cookies for Different Needs
Make-Ahead for a Party Tray
Bake the cookie cups and the filling the day before, then fill and top them a few hours before serving. If you assemble them too far ahead, the crust softens under the custard. The flavor holds overnight, but the texture is best when the whipped cream is added close to serving.
Gluten-Free Version
Use a 1:1 gluten-free baking flour that includes xanthan gum in place of the all-purpose flour. The dough may feel a little softer, so chill it well before rolling and handle the cut circles gently. The filling stays the same.
Dairy-Free Adjustment
Swap the butter for a firm plant-based butter that bakes well, and use a dairy-free whipped topping instead of regular whipped cream. The crust won’t taste quite as rich, but the texture can still be nicely crisp if the butter substitute stays cold and solid.
Extra-Spiced, More Pumpkin-Forward Filling
If you want the pumpkin to stand out more, add an extra 1/4 teaspoon cinnamon and a pinch of cloves. Keep the amount small so the filling doesn’t turn muddy or overpower the custard texture. This version tastes a little bolder and reads more like a classic holiday pie.
Storage and Reheating
- Refrigerator: Store covered for up to 3 days. The crust softens a little in the fridge, but the filling stays creamy.
- Freezer: Freeze the baked, un-topped cookie cups for up to 1 month. Thaw in the refrigerator and add whipped cream after they’re fully defrosted.
- Reheating: These are best served chilled or at cool room temperature, not reheated. Warming them makes the custard loosen and can collapse the whipped topping.
Answers to the Questions Worth Asking
Pumpkin Pie Cookies
Ingredients
Equipment
Method
- Combine all-purpose flour, powdered sugar, and salt, then cut in cold unsalted butter until the mixture looks like coarse crumbs.
- Add ice water, 1 tablespoon at a time, mixing just until the dough holds together when pressed.
- Form the dough into a disk, wrap, and chill for 30 minutes so it firms up for rolling.
- Roll the dough on a lightly floured surface to 1/8 inch thickness, then cut into 3-inch circles.
- Grease a mini muffin tin and press the circles into the cups, keeping the edges even.
- Preheat the oven to 375°F, then pre-bake the pastry cups for 10 minutes until they look lightly set.
- Whisk pumpkin puree, sweetened condensed milk, egg yolk, pumpkin pie spice, cinnamon, and salt until smooth.
- Spoon the filling into the pre-baked cups, filling each nearly to the top.
- Bake at 375°F for 12–14 minutes, until the filling is just set with a slight jiggle in the center.
- Cool completely in the muffin tin so the custard finishes setting without cracking.
- Top each cookie with whipped cream and finish with a pinch of pumpkin pie spice before serving.