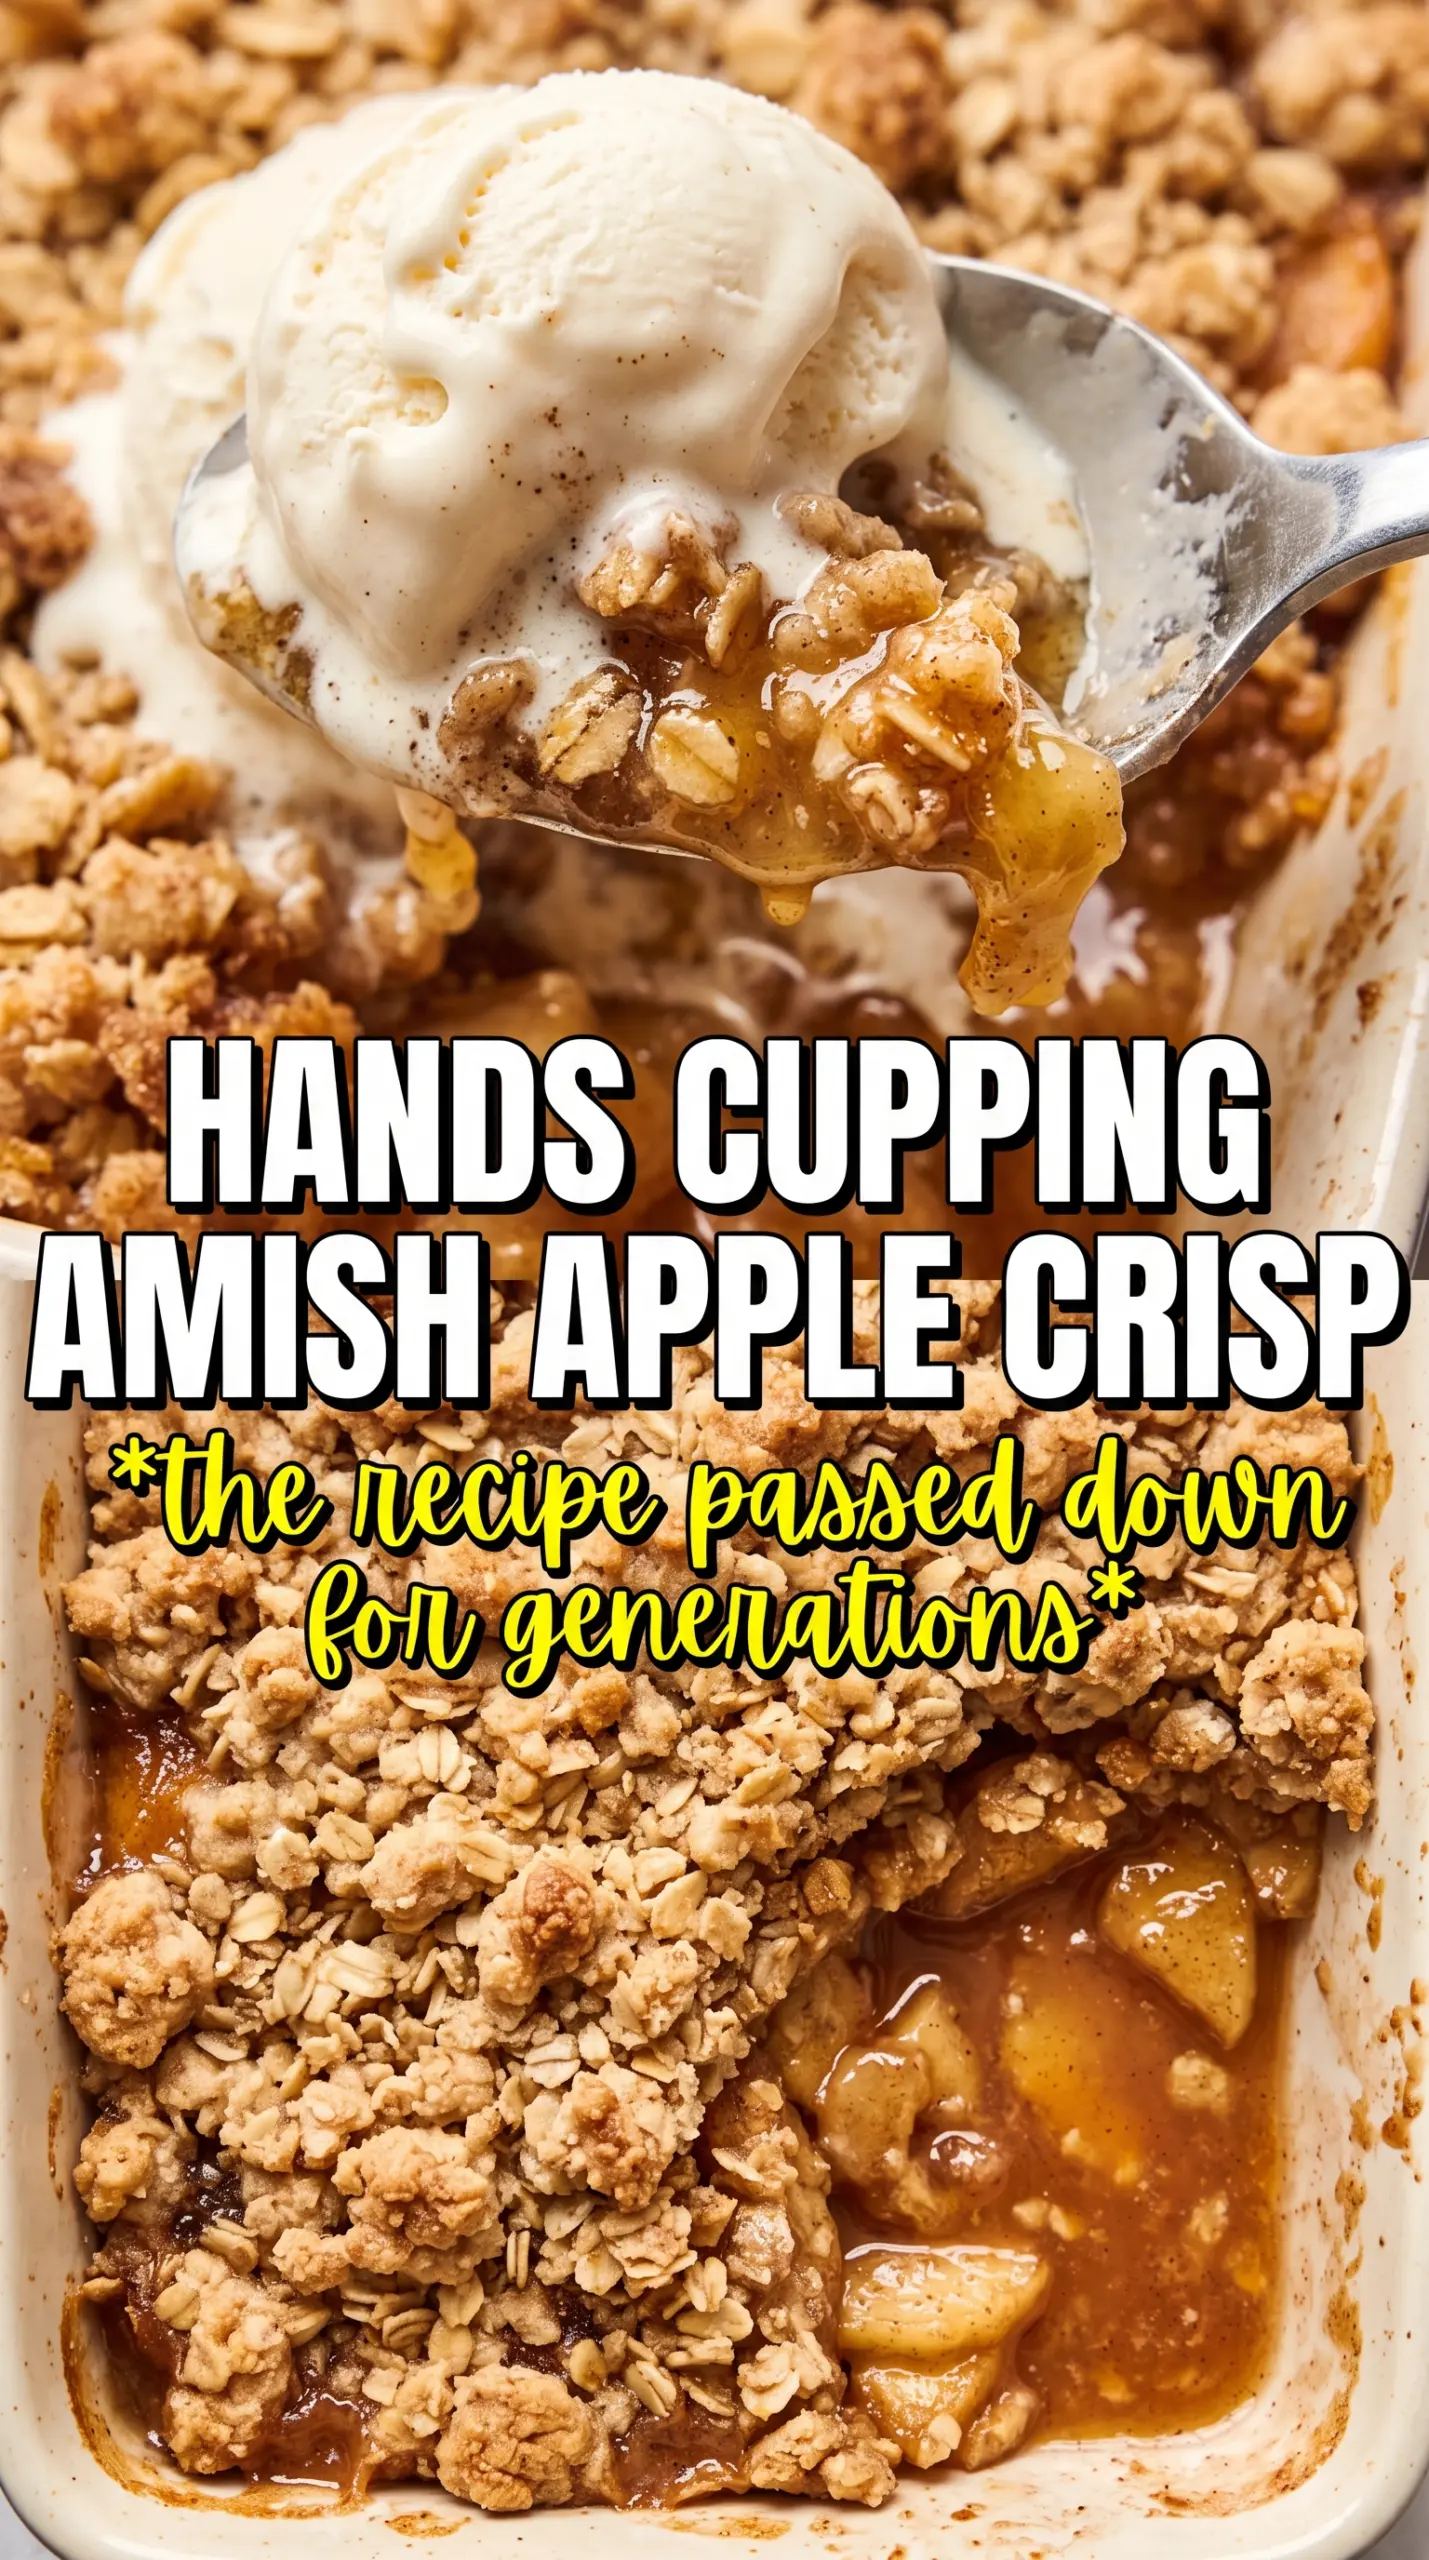
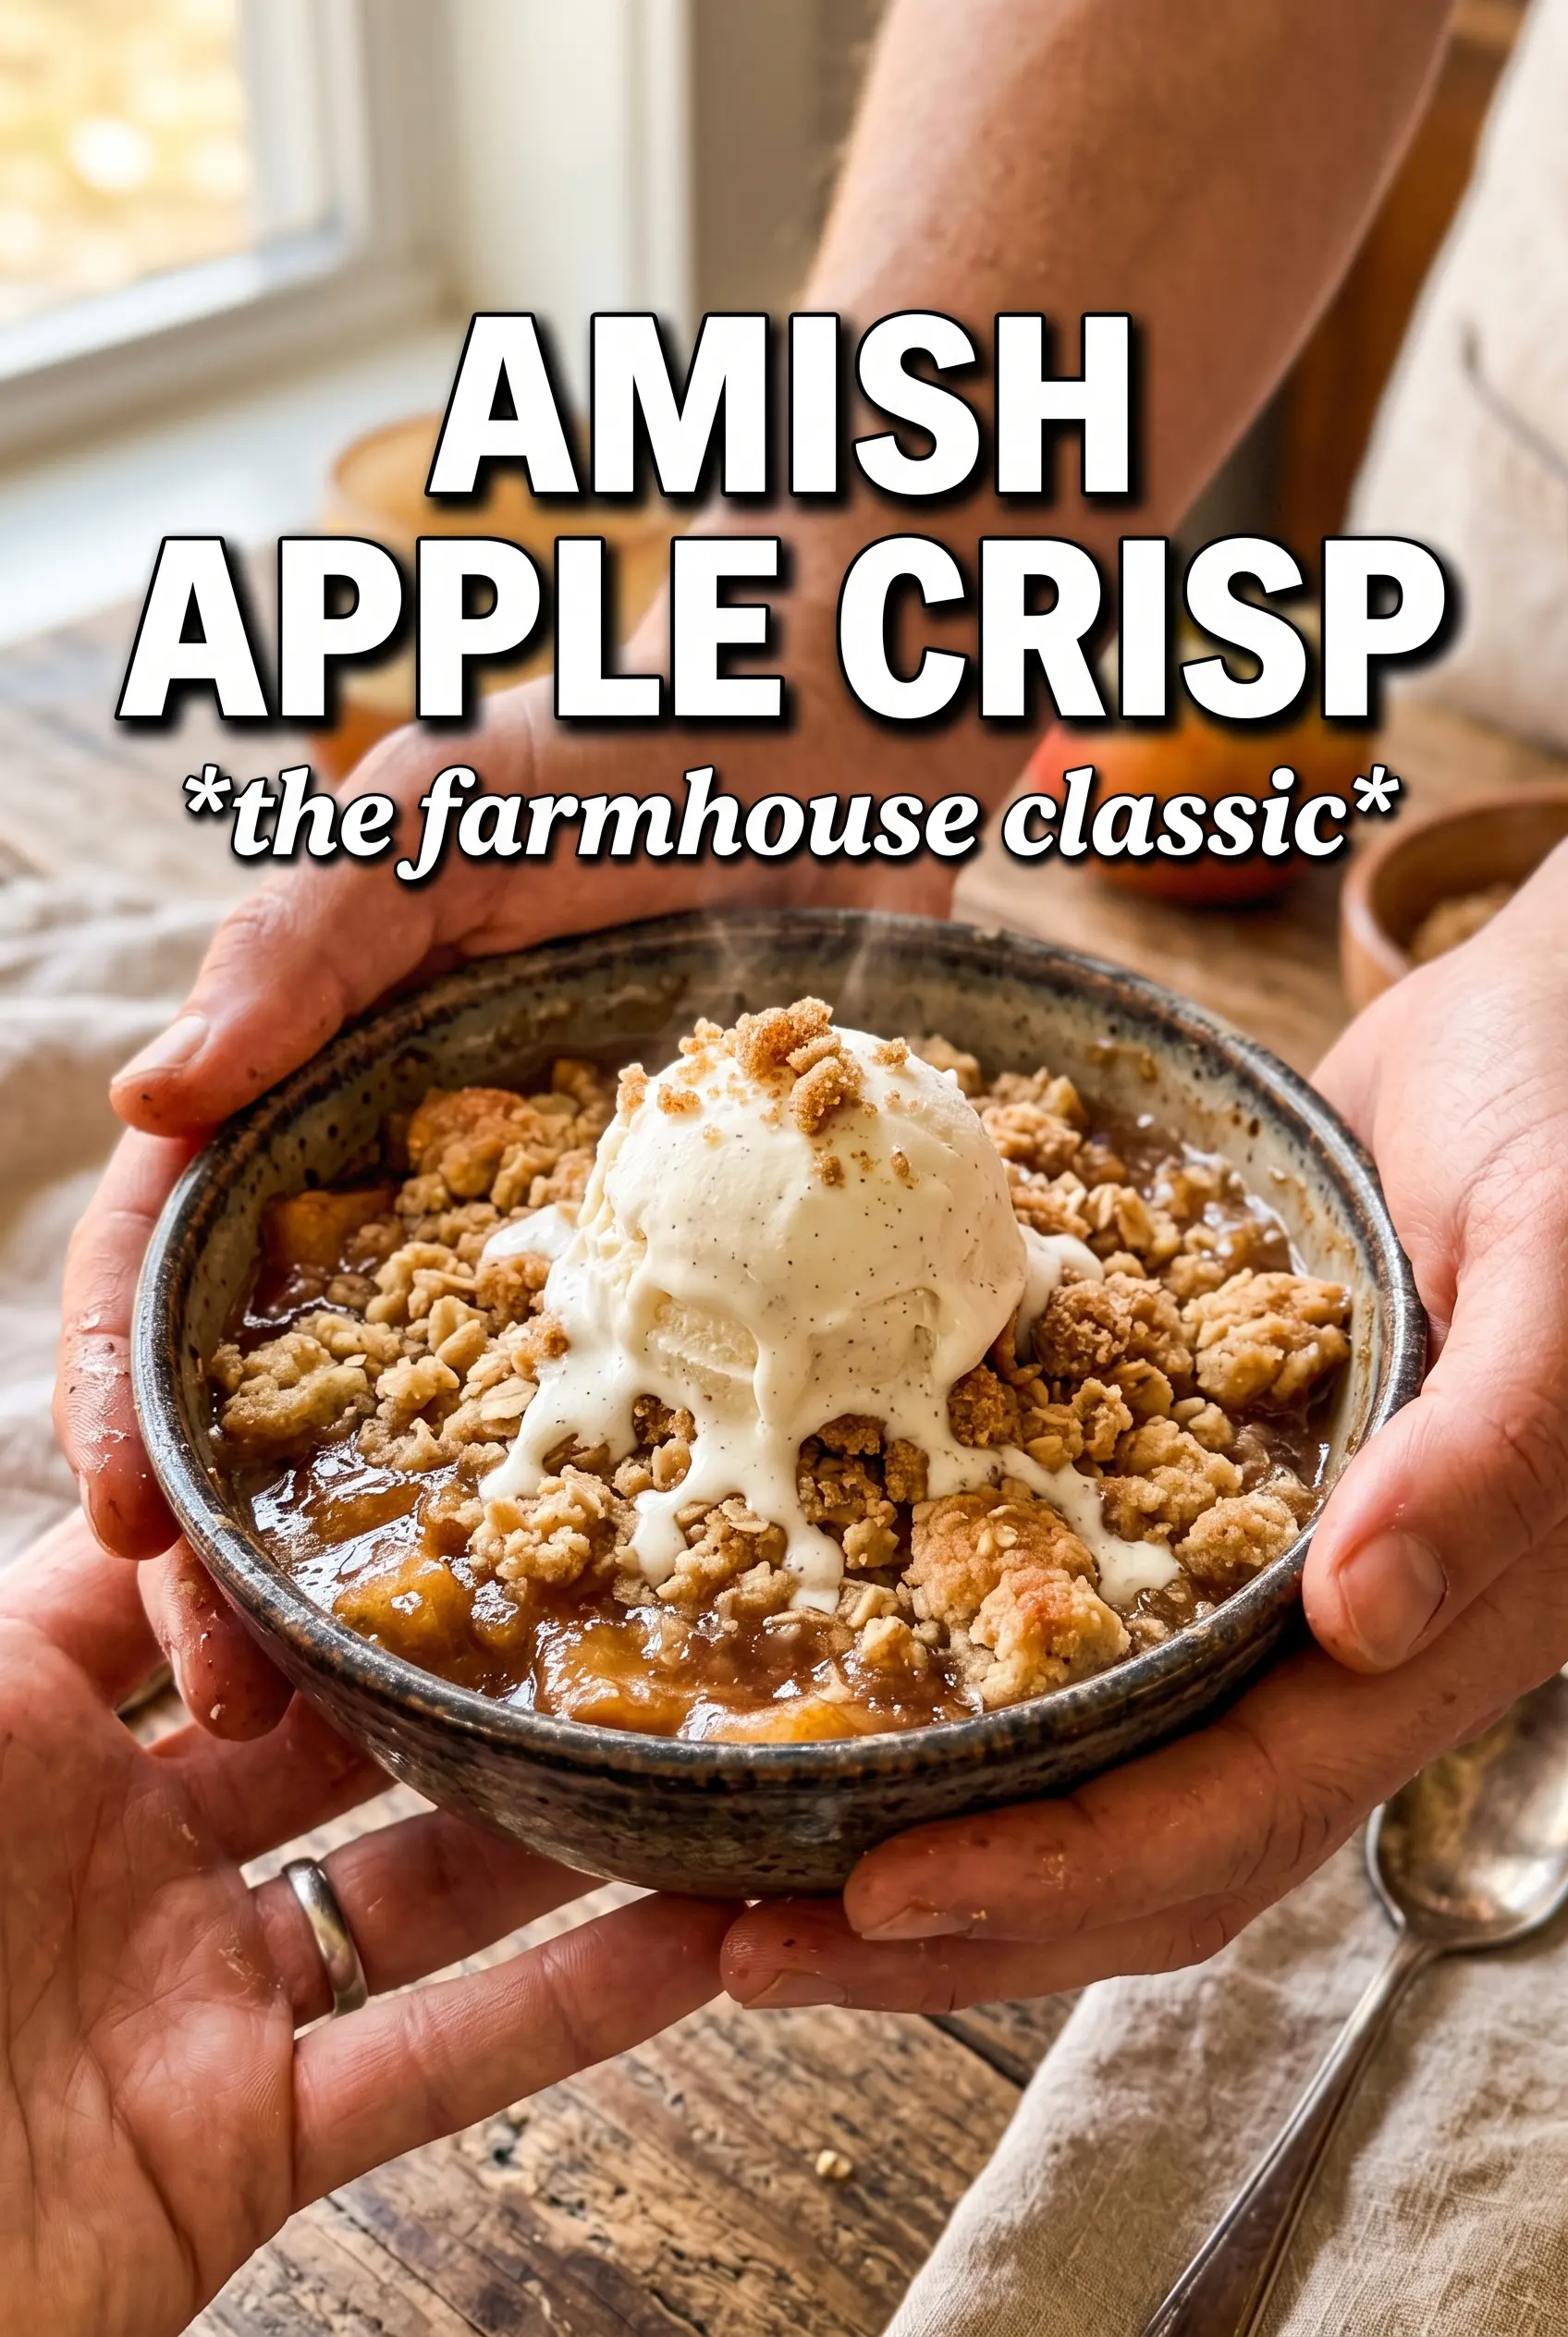
Amish apple crisp bakes up with a thick, shingled topping that turns crisp at the edges and stays nubby in the middle, right where it should be. Underneath, the apples soften into a spoonable filling that tastes deeply of cinnamon and brown sugar instead of just sweetened fruit. The contrast is what keeps this dessert on repeat: cold vanilla ice cream melting into the hot crumbs, a little cream pooling around the edges, and that first bite with both crunch and softness in one spoonful.
What makes this version work is the topping. Oats bring chew, flour gives it structure, and the mix of butter plus lard creates a richer crumble that browns well without turning greasy. The apples are tossed with flour before baking, which helps the juices thicken instead of running thin across the pan. Lemon juice keeps the flavor bright so the filling doesn’t taste flat under all that brown sugar.
Below you’ll find the small details that matter most: how to keep the crumble clumpy, why the pan size changes the final texture, and which apples hold their shape best if you want a filling that doesn’t collapse.
The topping stayed crisp even after sitting on the counter, and the apples baked into a thick filling instead of turning watery. I used half lard and half butter, and the crumble tasted like the old-school apple crisp I remember from my grandmother's kitchen.
Like this Amish apple crisp? Save it to Pinterest for the nights when you want a deeply spiced apple filling and a thick golden crumble with ice cream.
The Reason This Crumble Stays Thick Instead of Turning Sandy
The problem with a lot of apple crisps is that the topping melts down before it ever gets properly crumbly. If the butter is too warm, you get a paste. If the topping is rubbed too fine, you lose the big nubby pieces that brown into those good, crunchy ridges. This version depends on keeping the butter cold and stopping the mixing when you still have uneven clumps.
The pan matters too. A deeper baking dish holds the filling in a thicker layer, which means the apples steam and soften without drying out. If you use a shallow pan, the juices can spread too fast and the topping can overbrown before the fruit finishes. You want bubbling at the edges and a topping that looks deeply toasted, not pale and dusty.
What Each Ingredient Is Actually Doing in This Apple Crisp
- Apples — A mix of firm baking apples gives you slices that hold their shape while still turning tender. If all you have are softer apples, the filling will lean sauce-like instead of distinct and sliceable.
- Brown sugar and granulated sugar — Brown sugar brings molasses depth; granulated sugar helps the filling and topping brown cleanly. You can lean slightly heavier on brown sugar if you want a darker, richer topping, but don’t swap in all brown sugar or the crumble can get damp.
- Flour in the filling — This is what thickens the apple juices. If you skip it, the crisp can bake up with a puddle underneath, especially if your apples are very juicy.
- Rolled oats — Oats give the topping its chewy, rustic texture. Quick oats work in a pinch, but they make the crumble finer and less open.
- Butter and lard — Butter gives flavor and browning; lard makes the topping extra tender and old-fashioned. If you don’t use lard, add the same amount of butter, but keep it cold and cubed so the crumble stays chunky.
How to Build the Apple Filling and Topping So They Bake Evenly
Season the Apples Before They Hit the Pan
Toss the sliced apples with the sugars, spices, flour, and lemon juice until every piece looks lightly coated. That flour needs to cling to the fruit before baking so it can thicken the juices as they release. Spread the apples in a deep, even layer and don’t pack them down hard; they need room for steam to move through the pan.
Cut the Butter In Until You Still Have Big Clumps
Work the cold butter and lard into the dry topping ingredients with your hands until the mixture looks shaggy and uneven, with a mix of sand and marble-sized pieces. Those larger bits are what bake into crunchy, browned crags. If the mixture starts looking smooth or greasy, stop and chill it briefly before continuing, because warm fat turns into a dense lid instead of a crisp topping.
Bake Until the Edges Bubble Hard
Spread the crumble over the apples and press it down only very lightly. Bake until the top is deeply golden and you can see the filling bubbling around the edges, which tells you the flour has done its job and the apples are fully tender. Pull it too early and the juices stay thin; pull it too late and the topping dries out. Let it rest for 15 minutes so the filling settles and thickens before you scoop it.
Make It Without Lard
Use all butter if that’s what you keep on hand. The crisp will still taste rich, but the topping will be a little more delicate and less old-fashioned in texture. Keep the butter cold and work fast so you don’t lose the chunky crumble.
Use Gluten-Free Flour and Oats
A good 1:1 gluten-free flour blend can replace the all-purpose flour in both the filling and topping, and certified gluten-free oats keep the texture close to the original. The crumble may brown a touch faster, so start checking a few minutes early. The finished dessert still holds together well because the apples do most of the heavy lifting.
Make It Less Sweet
Cut the granulated sugar in the filling slightly if your apples are naturally sweet, but leave the brown sugar in the topping alone or the crumble loses its caramel note. The crisp will taste brighter and more apple-forward, especially if you use tart apples like Granny Smith or Braeburn.
Storage and Reheating
- Refrigerator: Store covered for up to 4 days. The topping softens a bit in the fridge, but the flavor stays good.
- Freezer: Freeze baked or unbaked in a tight, freezer-safe dish for up to 2 months. If baking from frozen, add extra time and cover loosely with foil until the apples are hot through.
- Reheating: Rewarm uncovered in a 325F oven until the edges are bubbling again. The common mistake is microwaving it until the topping turns soggy; the oven brings the crisp back.
Answers to the Questions Worth Asking
Amish Apple Crisp
Ingredients
Equipment
Method
- Preheat the oven to 350F, and grease a large 10x15 roasting pan or a 9x13 baking dish.
- Toss the apple slices with granulated sugar, brown sugar, cinnamon, nutmeg, allspice, all-purpose flour, and lemon juice, then spread them in the prepared pan in a deep layer.
- Combine the all-purpose flour, rolled oats, both sugars, cinnamon, and salt, then cut in the cold butter (and lard if using) with your hands until large crumbly clumps form.
- Spread the crumble thickly over the apples and press it very gently so it adheres.
- Bake for 50-55 minutes at 350F until the topping is deeply golden and the apple filling bubbles all around.
- Rest the crisp for 15 minutes before serving, so the juices set slightly.
- Serve warm with vanilla ice cream and a pour of cold heavy cream.