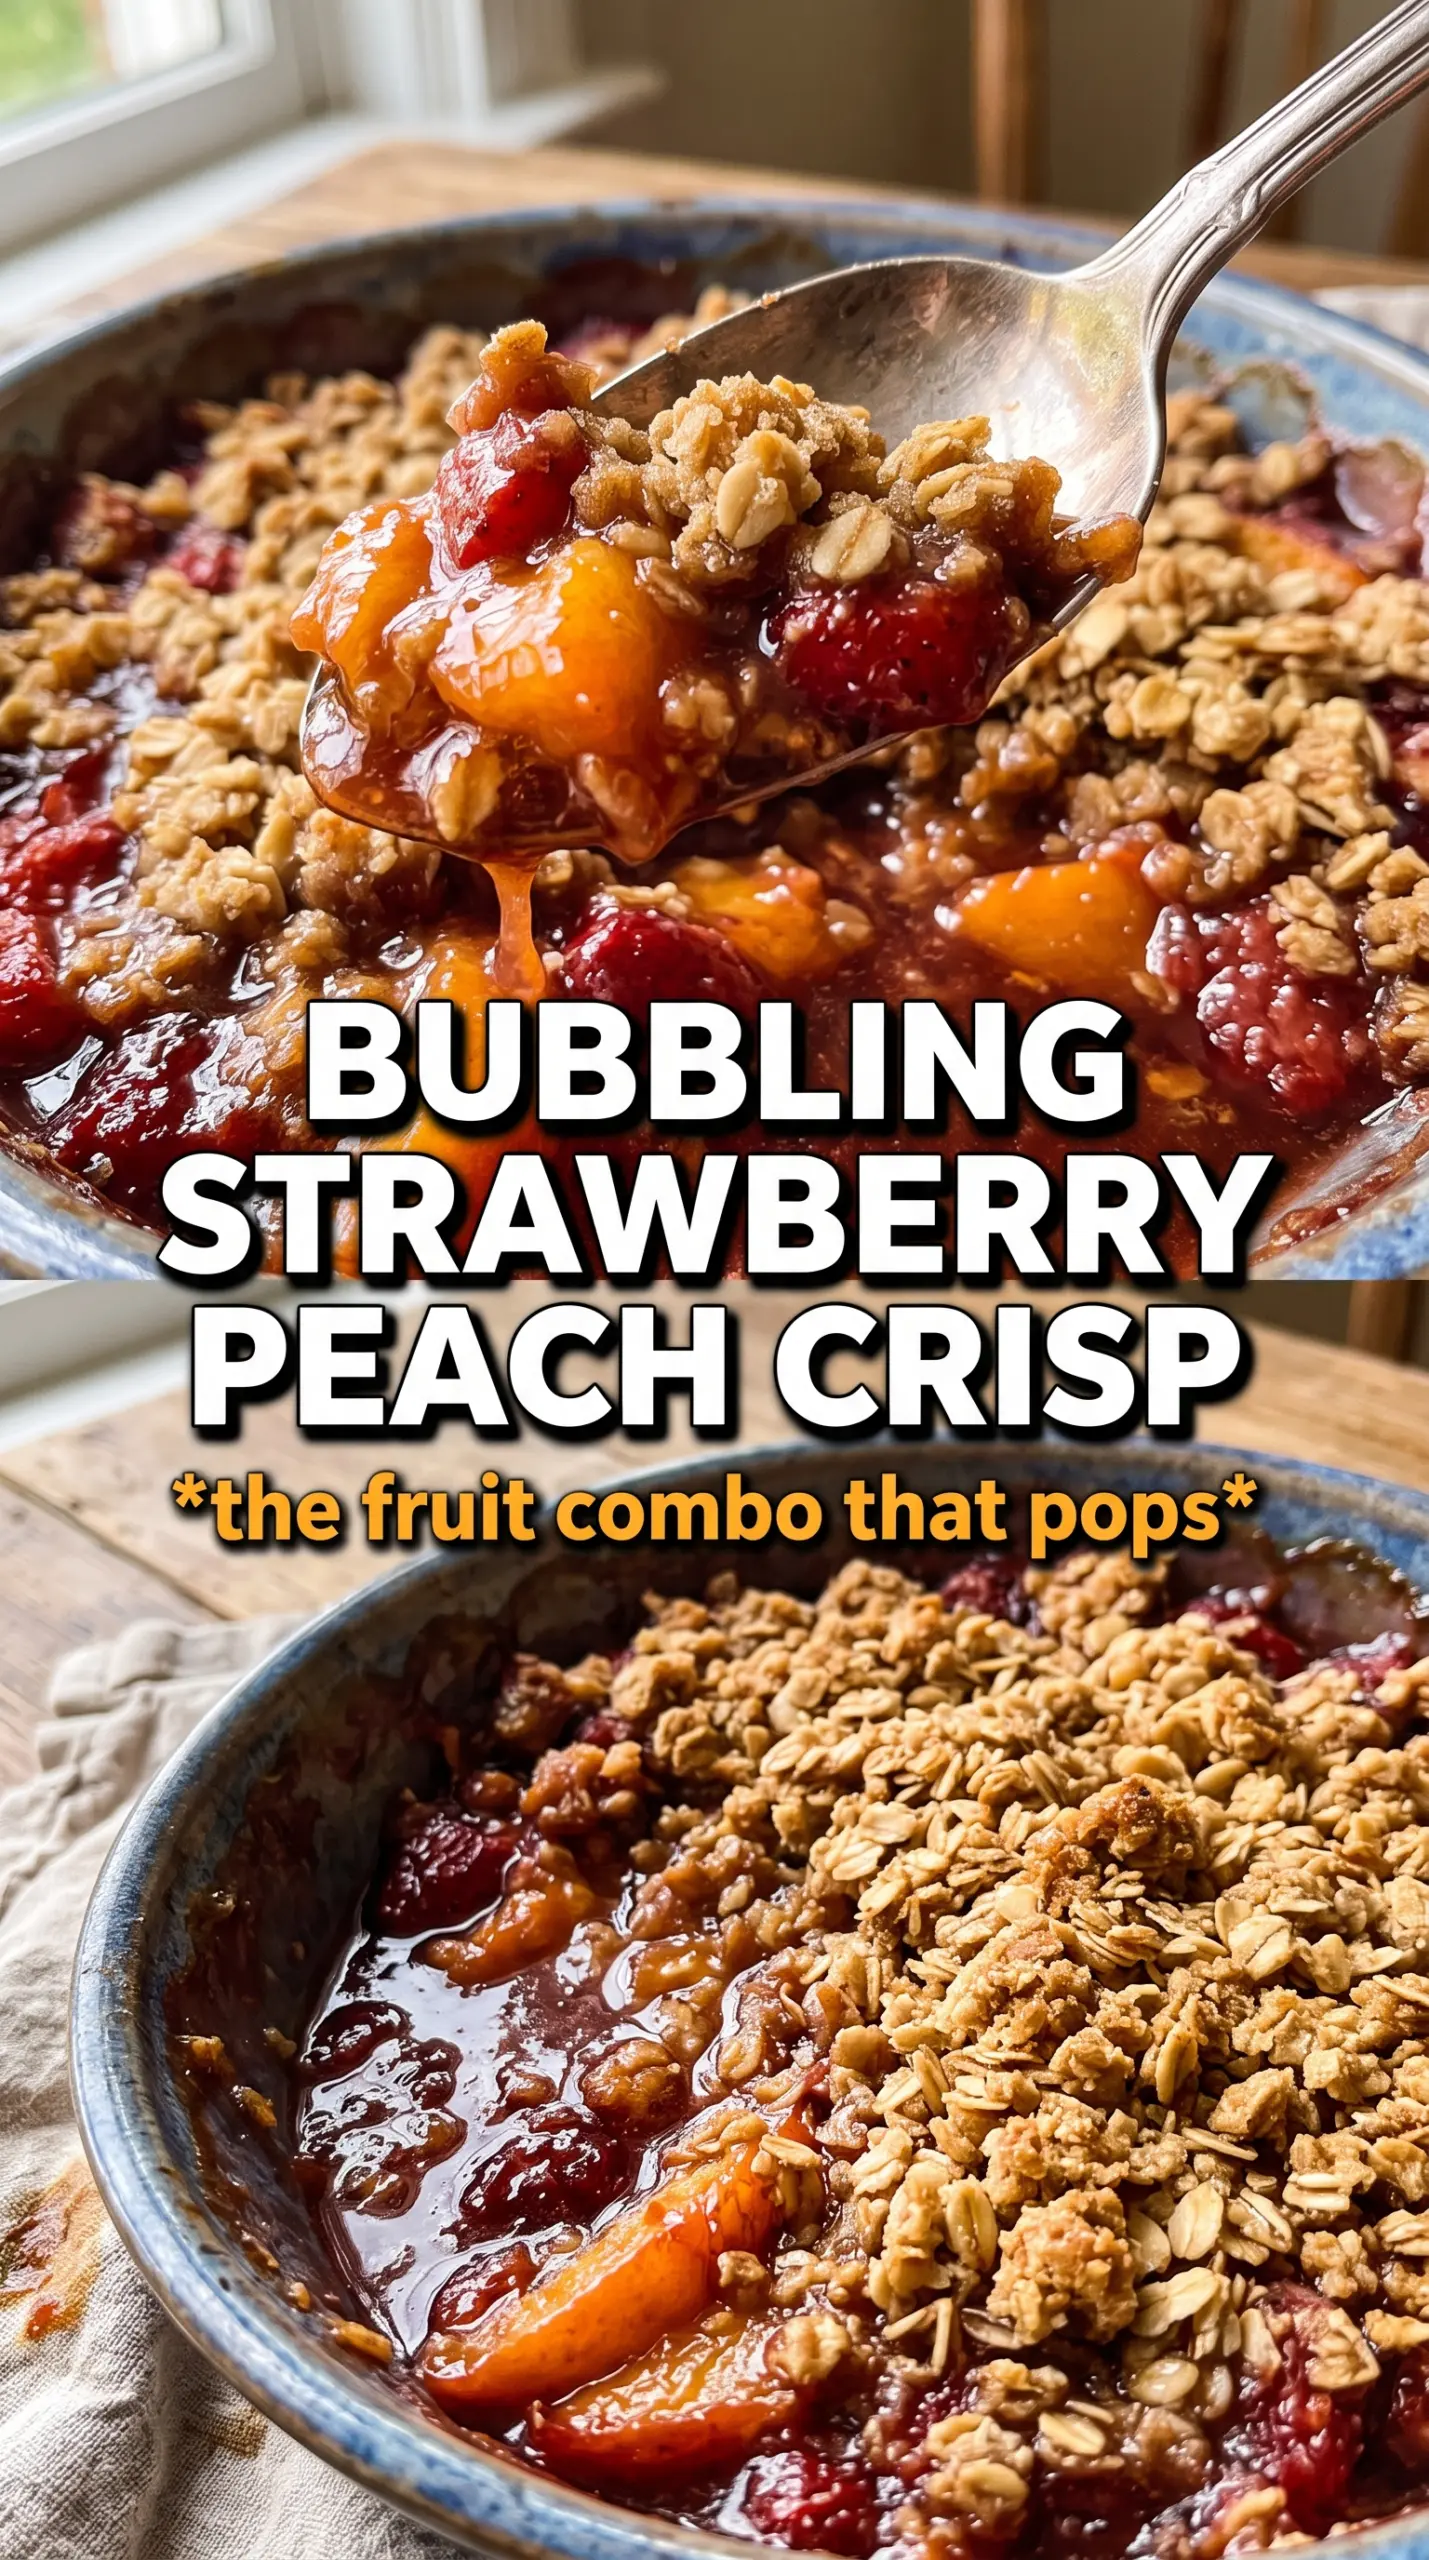
Strawberry peach crisp lands right in that sweet spot between juicy and crunchy. The fruit softens into a bubbling, syrupy filling while the oat topping turns deep golden and crisp at the edges, with just enough chew in the middle to keep every bite interesting. It’s the kind of dessert that disappears fast, especially when a spoonful hits warm fruit and melting vanilla ice cream at the same time.
What makes this version work is the balance. Strawberries bring brightness and a little tartness, peaches bring perfume and body, and a small amount of cornstarch keeps the filling thick instead of watery. The topping stays sturdy because the butter is kept cold and worked in just until the crumbs form; if you overmix it, you lose those little buttery pockets that bake up crisp.
Below, I’m walking through the part that matters most: how to avoid a soggy bottom, how to tell when the filling is thick enough, and what to change if your peaches are extra juicy or not quite ripe yet.
The filling thickened up beautifully and the topping stayed crisp even after it sat on the table for a bit. I used very ripe peaches, and the lemon juice kept everything tasting bright instead of overly sweet.
Save this strawberry peach crisp for the nights when you want bubbling fruit and a thick oat crumble with almost no fuss.
The Fix for a Crisp That Bakes Up Juicy, Not Soupy
The biggest mistake with fruit crisps is treating the fruit like it’s already a sauce. Strawberries and peaches throw off a lot of juice as they bake, and if the filling doesn’t have enough structure, the bottom layer turns loose and watery before the topping has time to brown. A little cornstarch handles that problem without making the fruit gluey. It thickens the juices as they bubble, which is what gives you that spoonable filling instead of a puddle.
Another thing that matters here is the way the fruit is cut. Peaches should be sliced evenly so they soften at the same pace, and the strawberries should be halved or quartered depending on size so they don’t disappear into mush. You want pieces that still look like fruit after baking. That’s the whole point of a crisp: soft, jammy fruit underneath, not fruit that has cooked itself into a puree.
- Strawberries — Fresh berries give the filling its bright color and tart edge. Frozen strawberries release too much water for this exact recipe, so use them only if you thaw, drain, and accept a looser result.
- Peaches — Ripe peaches carry the dessert. If yours are a little firm, the bake time gives them enough time to soften; if they’re very soft and juicy, keep the cornstarch in place and don’t skip the rest time after baking.
- Cornstarch — This is what keeps the fruit juices thick and glossy. Flour can work in a pinch, but it looks cloudier and doesn’t set as cleanly.
- Brown sugar — The brown sugar in the topping adds molasses depth and helps the crumble bronze. Granulated sugar makes the topping a little flatter in flavor and paler in color.
What Each Ingredient Is Actually Doing in This Recipe
- Primary ingredient (the star) — Quality matters most. Choose the best you can find.
- Cooking medium (oil, butter, or broth) — This carries flavors and prevents dryness.
- Seasonings (salt, pepper, spices, herbs) — Layer flavors so nothing overpowers. Build depth gradually.
- Aromatics (garlic, onion, herbs) — Cook with fat to bloom flavors. Become the foundation.
- Supporting ingredients — Complement the main ingredient without overpowering it.
- Sauce or liquid (if applicable) — Brings flavors together. Balance richness with acid.
- Acid (lemon, vinegar, wine, or other) — Brightens and prevents flat-tasting results.
- Final finish (garnish, glaze, or sauce) — Prevents one-dimensional taste and adds visual appeal.
How to Build the Crumble So It Stays Crisp on Top
Coating the Fruit
Toss the strawberries and peaches with the sugar, cornstarch, lemon juice, and vanilla until every piece looks lightly coated. The mixture will seem a little wet at first, but that’s what you want; the juices need something to grab onto as they start baking. Spread it evenly in the dish so the fruit cooks at the same rate. If you mound it in the center, the middle stays undercooked while the edges overbubble.
Making the Oat Topping
Combine the oats, flour, brown sugar, cinnamon, and salt, then cut in the cold butter with your fingertips until the mixture looks like coarse crumbs with a few pea-sized bits left behind. Those larger pieces are what bake into crisp, crunchy nuggets. If the butter softens too much, the topping turns pasty and dense instead of crumbly. Work fast and stop as soon as the dry ingredients are coated.
Baking Until the Fruit Bubbles Thickly
Scatter the topping all over the fruit, then bake until the crumble is deep golden brown and the filling is bubbling thickly around the edges. The bubbling matters more than the clock. Clear, slow bubbles mean the cornstarch has thickened the juices; fast thin bubbling usually means the fruit still has too much free liquid. Let it cool for about 10 minutes before serving so the filling settles instead of running everywhere the second you spoon into it.
What to Change When Your Peaches Need Help
Dairy-Free Version
Swap the butter for a firm plant-based butter stick, not a soft tub spread. You still want the topping to hold together in crumbs, and the stick-style version behaves much more like real butter in the oven.
Using Frozen Fruit
Frozen peaches or strawberries can work, but thaw and drain them first or the filling gets too loose. You may need an extra few minutes in the oven because the fruit starts colder and the juices take longer to thicken.
Gluten-Free Swap
Use a 1:1 gluten-free flour blend in place of the all-purpose flour and check that your oats are certified gluten-free. The topping still bakes up crisp, but it may look a little more rustic and less uniform.
Extra-Stone-Fruit Version
If your peaches are especially fragrant and soft, cut them a little larger so they keep some shape after baking. Bigger pieces hold their texture better, which keeps the filling from turning into peach jam under the crumble.
Storage and Reheating
- Refrigerator: Store covered for up to 4 days. The topping softens a bit in the fridge, but the flavor stays great.
- Freezer: It freezes well after baking. Cool completely, wrap tightly, and freeze for up to 2 months. Thaw overnight in the refrigerator before reheating.
- Reheating: Warm in a 300°F oven until heated through and the topping crisps back up. The microwave makes the crumble soft, so use it only if you don’t mind losing that baked texture.
Answers to the Questions Worth Asking
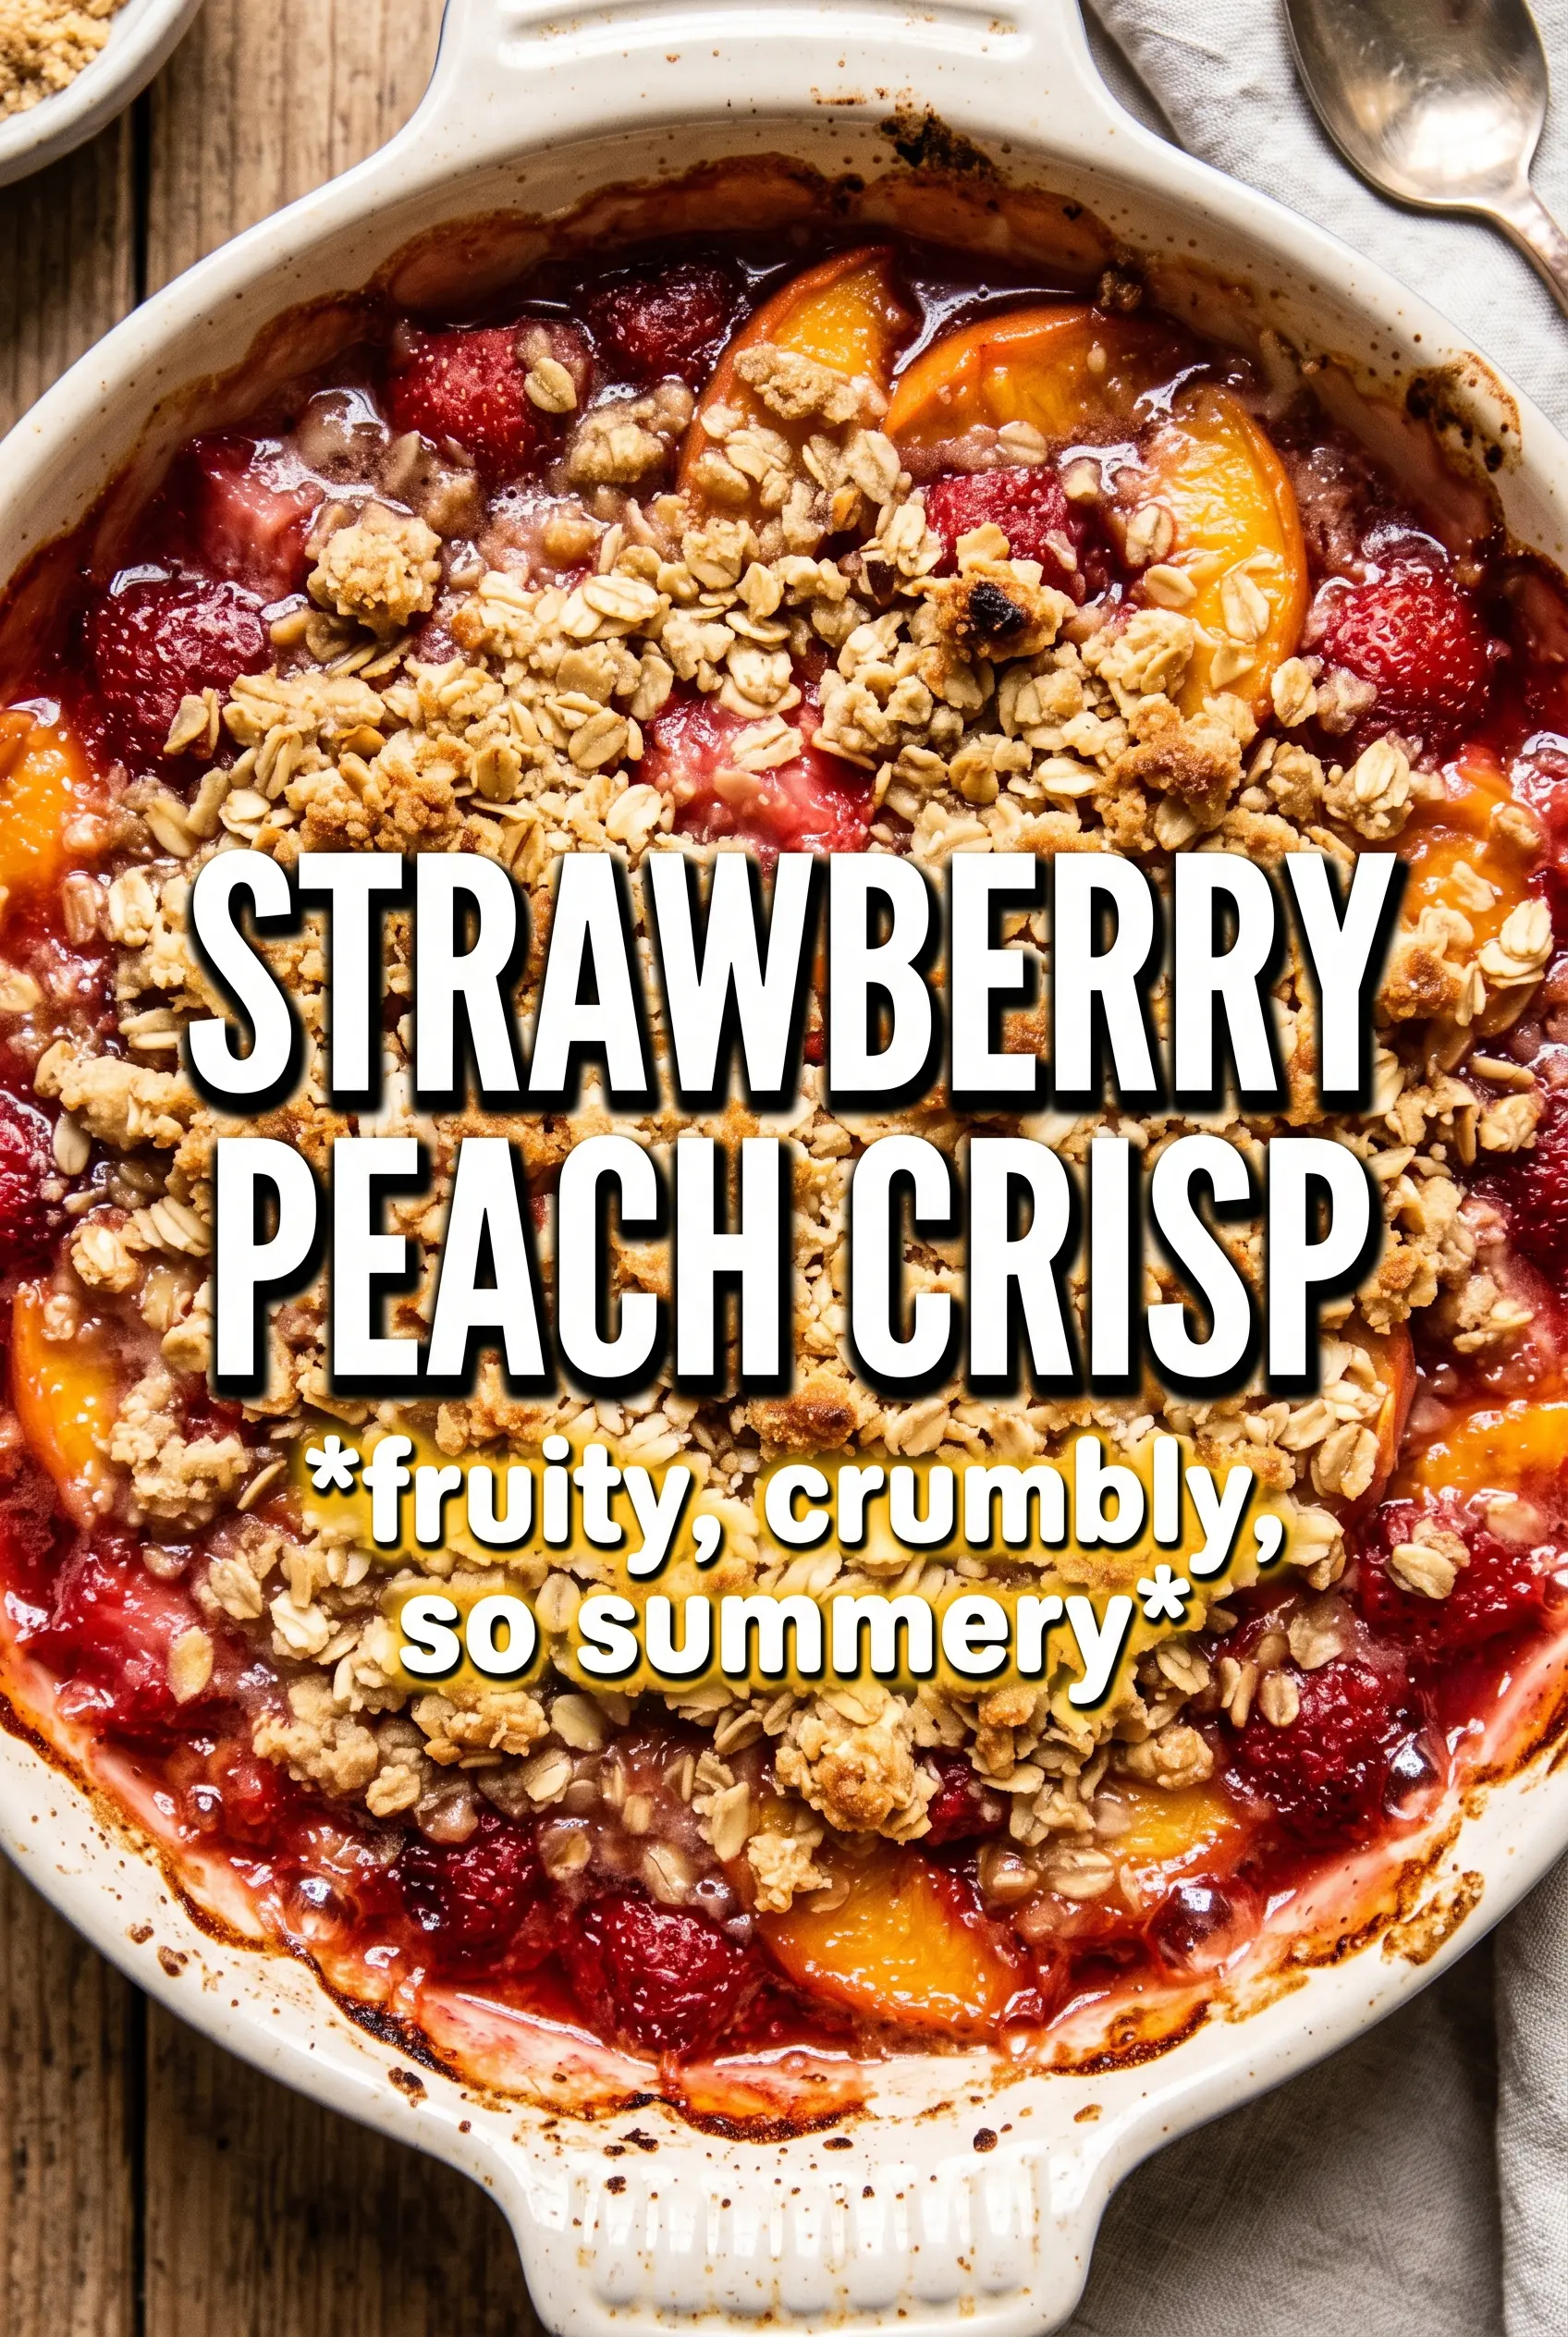
Strawberry Peach Crisp
Ingredients
Equipment
Method
- Preheat the oven to 350°F and grease a 9x13 baking dish.
- Spread the prepared dish aside so it’s ready for filling once the fruit is tossed.
- In a mixing bowl, toss strawberries and peaches with granulated sugar, cornstarch, lemon juice, and vanilla extract until evenly coated.
- Spread the fruit mixture in the prepared 9x13 baking dish in an even layer.
- In a second bowl, combine rolled oats, all-purpose flour, brown sugar, cinnamon, and salt.
- Cut in the cold butter with fingertips until the mixture resembles coarse crumbs with pea-sized pieces.
- Sprinkle the crumble topping evenly over the fruit.
- Bake at 350°F for 38-42 minutes, until the topping is deep golden brown and the fruit is bubbling thickly around the edges.
- Cool for 10 minutes, then serve warm with vanilla ice cream.