Layers of graham cracker crumble, thick chocolate pudding, and marshmallow cream make these no-bake s’mores pudding cups taste like a campfire dessert with none of the fuss. The texture is the part that keeps people coming back: crunchy at the bottom, cool and silky in the middle, then light, sweet marshmallow on top. In a clear cup, the layers look as good as they eat, which is exactly why these disappear fast at parties.
The trick is building each layer with enough structure that the cups hold their shape after chilling. Instant pudding gives you that deep chocolate base without cooking, and a little cream cheese in the marshmallow layer keeps it from turning loose or overly fluffy. I also like to let the pudding sit for a few minutes before layering so it thickens enough to sit cleanly over the crumbs instead of sinking into them.
Below, I’ll show you how to keep the crust from going sandy, how to get the marshmallow layer smooth, and the small finishing touch that makes these look bakery-worthy in a clear dessert cup.
The graham layer stayed crunchy even after chilling, and the chocolate pudding set up thick enough that the cups layered cleanly. My kids asked for these again the next night.
These no-bake S’mores Pudding Cups are the kind of layered dessert that chills up neat, slices clean in a spoonful, and still tastes like a campfire treat.
The Part That Keeps the Crumbs from Turning Soggy
The graham layer has one job: stay crumbly enough to taste like a crust, not paste. Butter is what binds it, but too much turns the base dense and greasy, and too little leaves dry crumbs that fall apart the second the spoon hits them. The sweet spot is mixing until the crumbs look evenly damp and clump when pressed, then stopping. That small amount of sugar matters too, because it sharpens the graham flavor instead of letting the crust taste flat under the chocolate.
The other thing that helps is how the cups are layered. A little crust, then a thick pudding layer, then the marshmallow cream. If you dump wet filling straight onto loose crumbs, the bottom turns muddy. Press the first layer lightly, not hard, so it stays textured and still gives you that classic s’mores bite.
What Each Layer Is Doing in These S’mores Cups
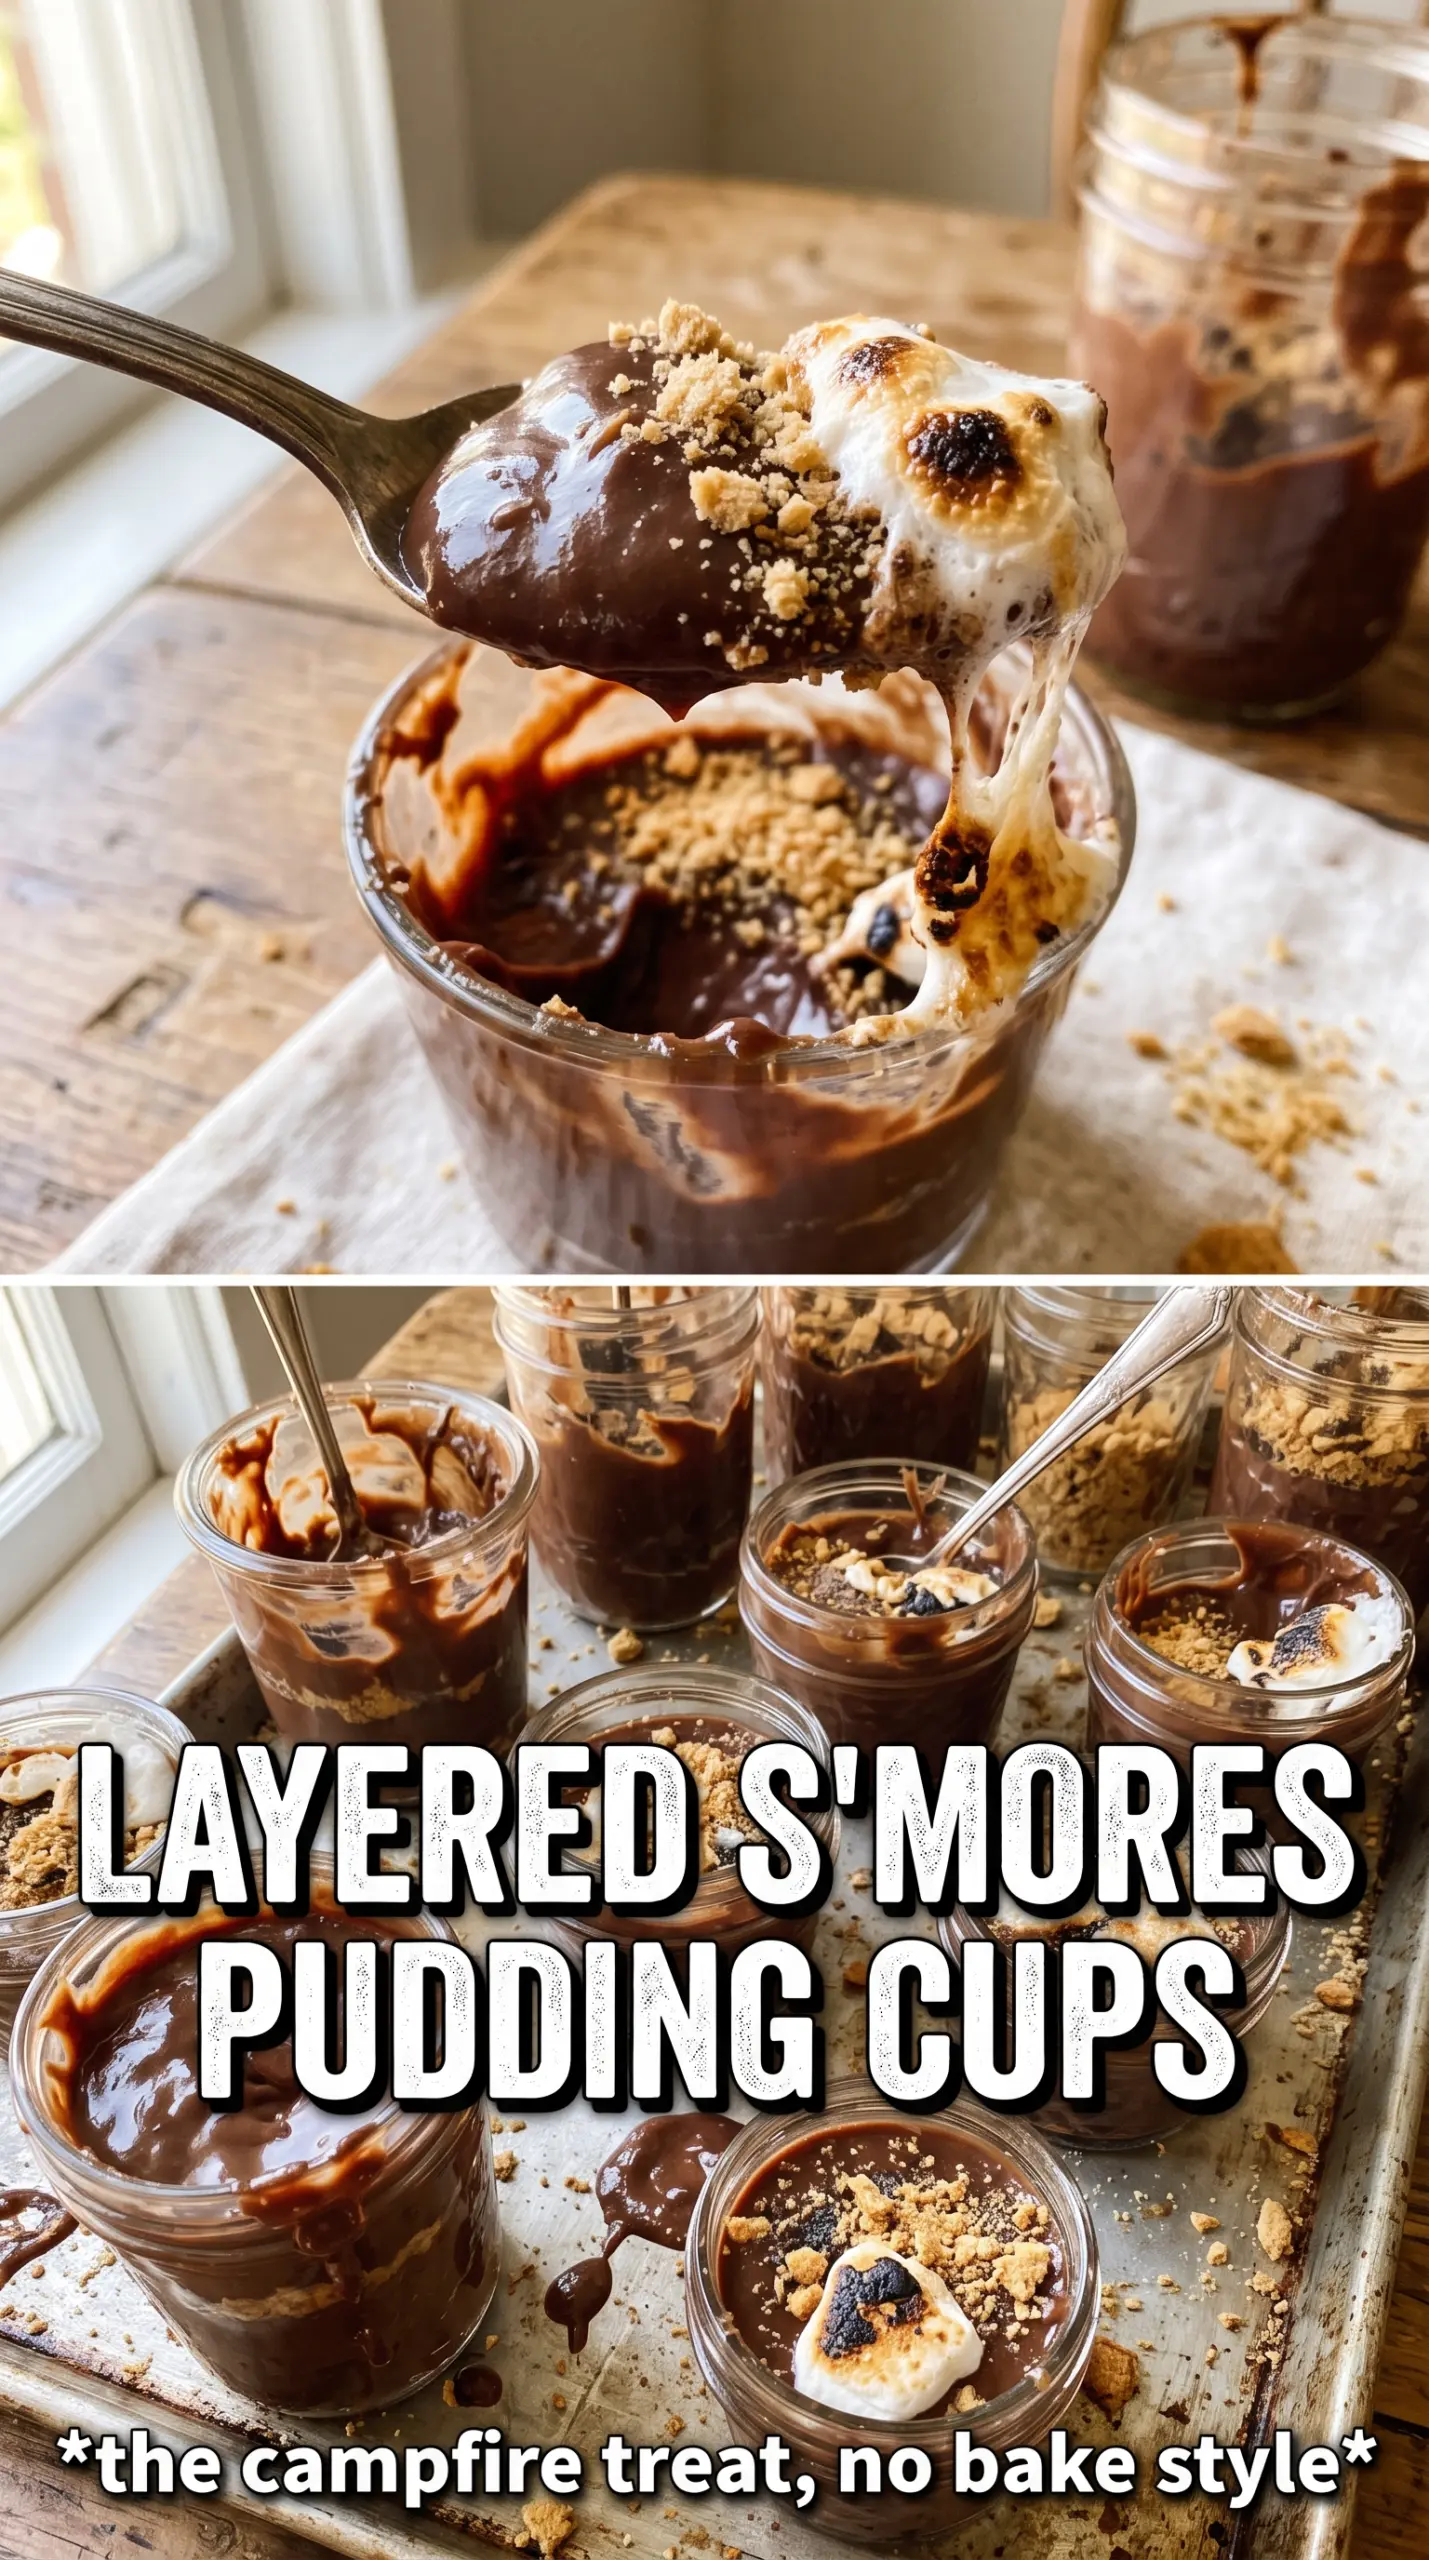
- Graham cracker crumbs — These give you the campfire-cookie flavor that makes the cups read as s’mores instead of just chocolate pudding dessert. Fresh crumbs from crackers have the best texture; pre-crushed crumbs work fine, but they can taste a little stale if they’ve been sitting in the pantry too long.
- Butter — Melted butter coats the crumbs and helps them set into a soft crust as they chill. If you cut the butter back, the base gets sandy; if you add more, it turns heavy and can pool at the bottom of the cup.
- Instant chocolate pudding — Instant pudding is the fast route here because it thickens without heat and holds its shape in layers. Cook-and-serve pudding won’t give you the same quick set, and it usually softens too much once it sits against the marshmallow layer.
- Whole milk — Whole milk gives the pudding a fuller, creamier finish. Lower-fat milk works, but the pudding can set a little looser and taste thinner.
- Marshmallow fluff and cream cheese — Fluff brings the marshmallow flavor, while cream cheese gives the layer enough body to sit neatly on top of the pudding. If you skip the cream cheese, the layer tends to smear when you spoon into it instead of holding a clean line.
- Whipped topping — This lightens the marshmallow mixture so it feels airy instead of sticky. Fold it in gently after the fluff and cream cheese are smooth so you keep the texture soft.
Building the Layers So They Stay Distinct
Mixing the Crust
Stir the graham crumbs, melted butter, and sugar until every crumb looks coated and slightly darker. When you squeeze a spoonful in your hand, it should hold together for a second and then break apart, not feel wet or oily. If it looks shiny or pools in the bowl, the butter is too much and the base will end up dense. Spoon it into the cups and press lightly with the back of a spoon just to settle it.
Whisking the Chocolate Pudding
Whisk the pudding mix and cold milk for a full 2 minutes. It should thicken enough to leave faint trails from the whisk and look glossy, not grainy. Then let it chill for about 5 minutes before you layer it. If you rush this part, the pudding is still loose and will slide into the crust instead of sitting in a clean band.
Smoothing the Marshmallow Layer
Beat the marshmallow fluff and softened cream cheese until the mixture turns smooth with no streaks of cream cheese left. The texture should look satiny before the whipped topping goes in. Fold the topping gently, because aggressive mixing can knock out the lightness and make the layer gummy. If the cream cheese is still cold, you’ll get little lumps that never fully disappear, so let it soften first.
Assembling and Chilling
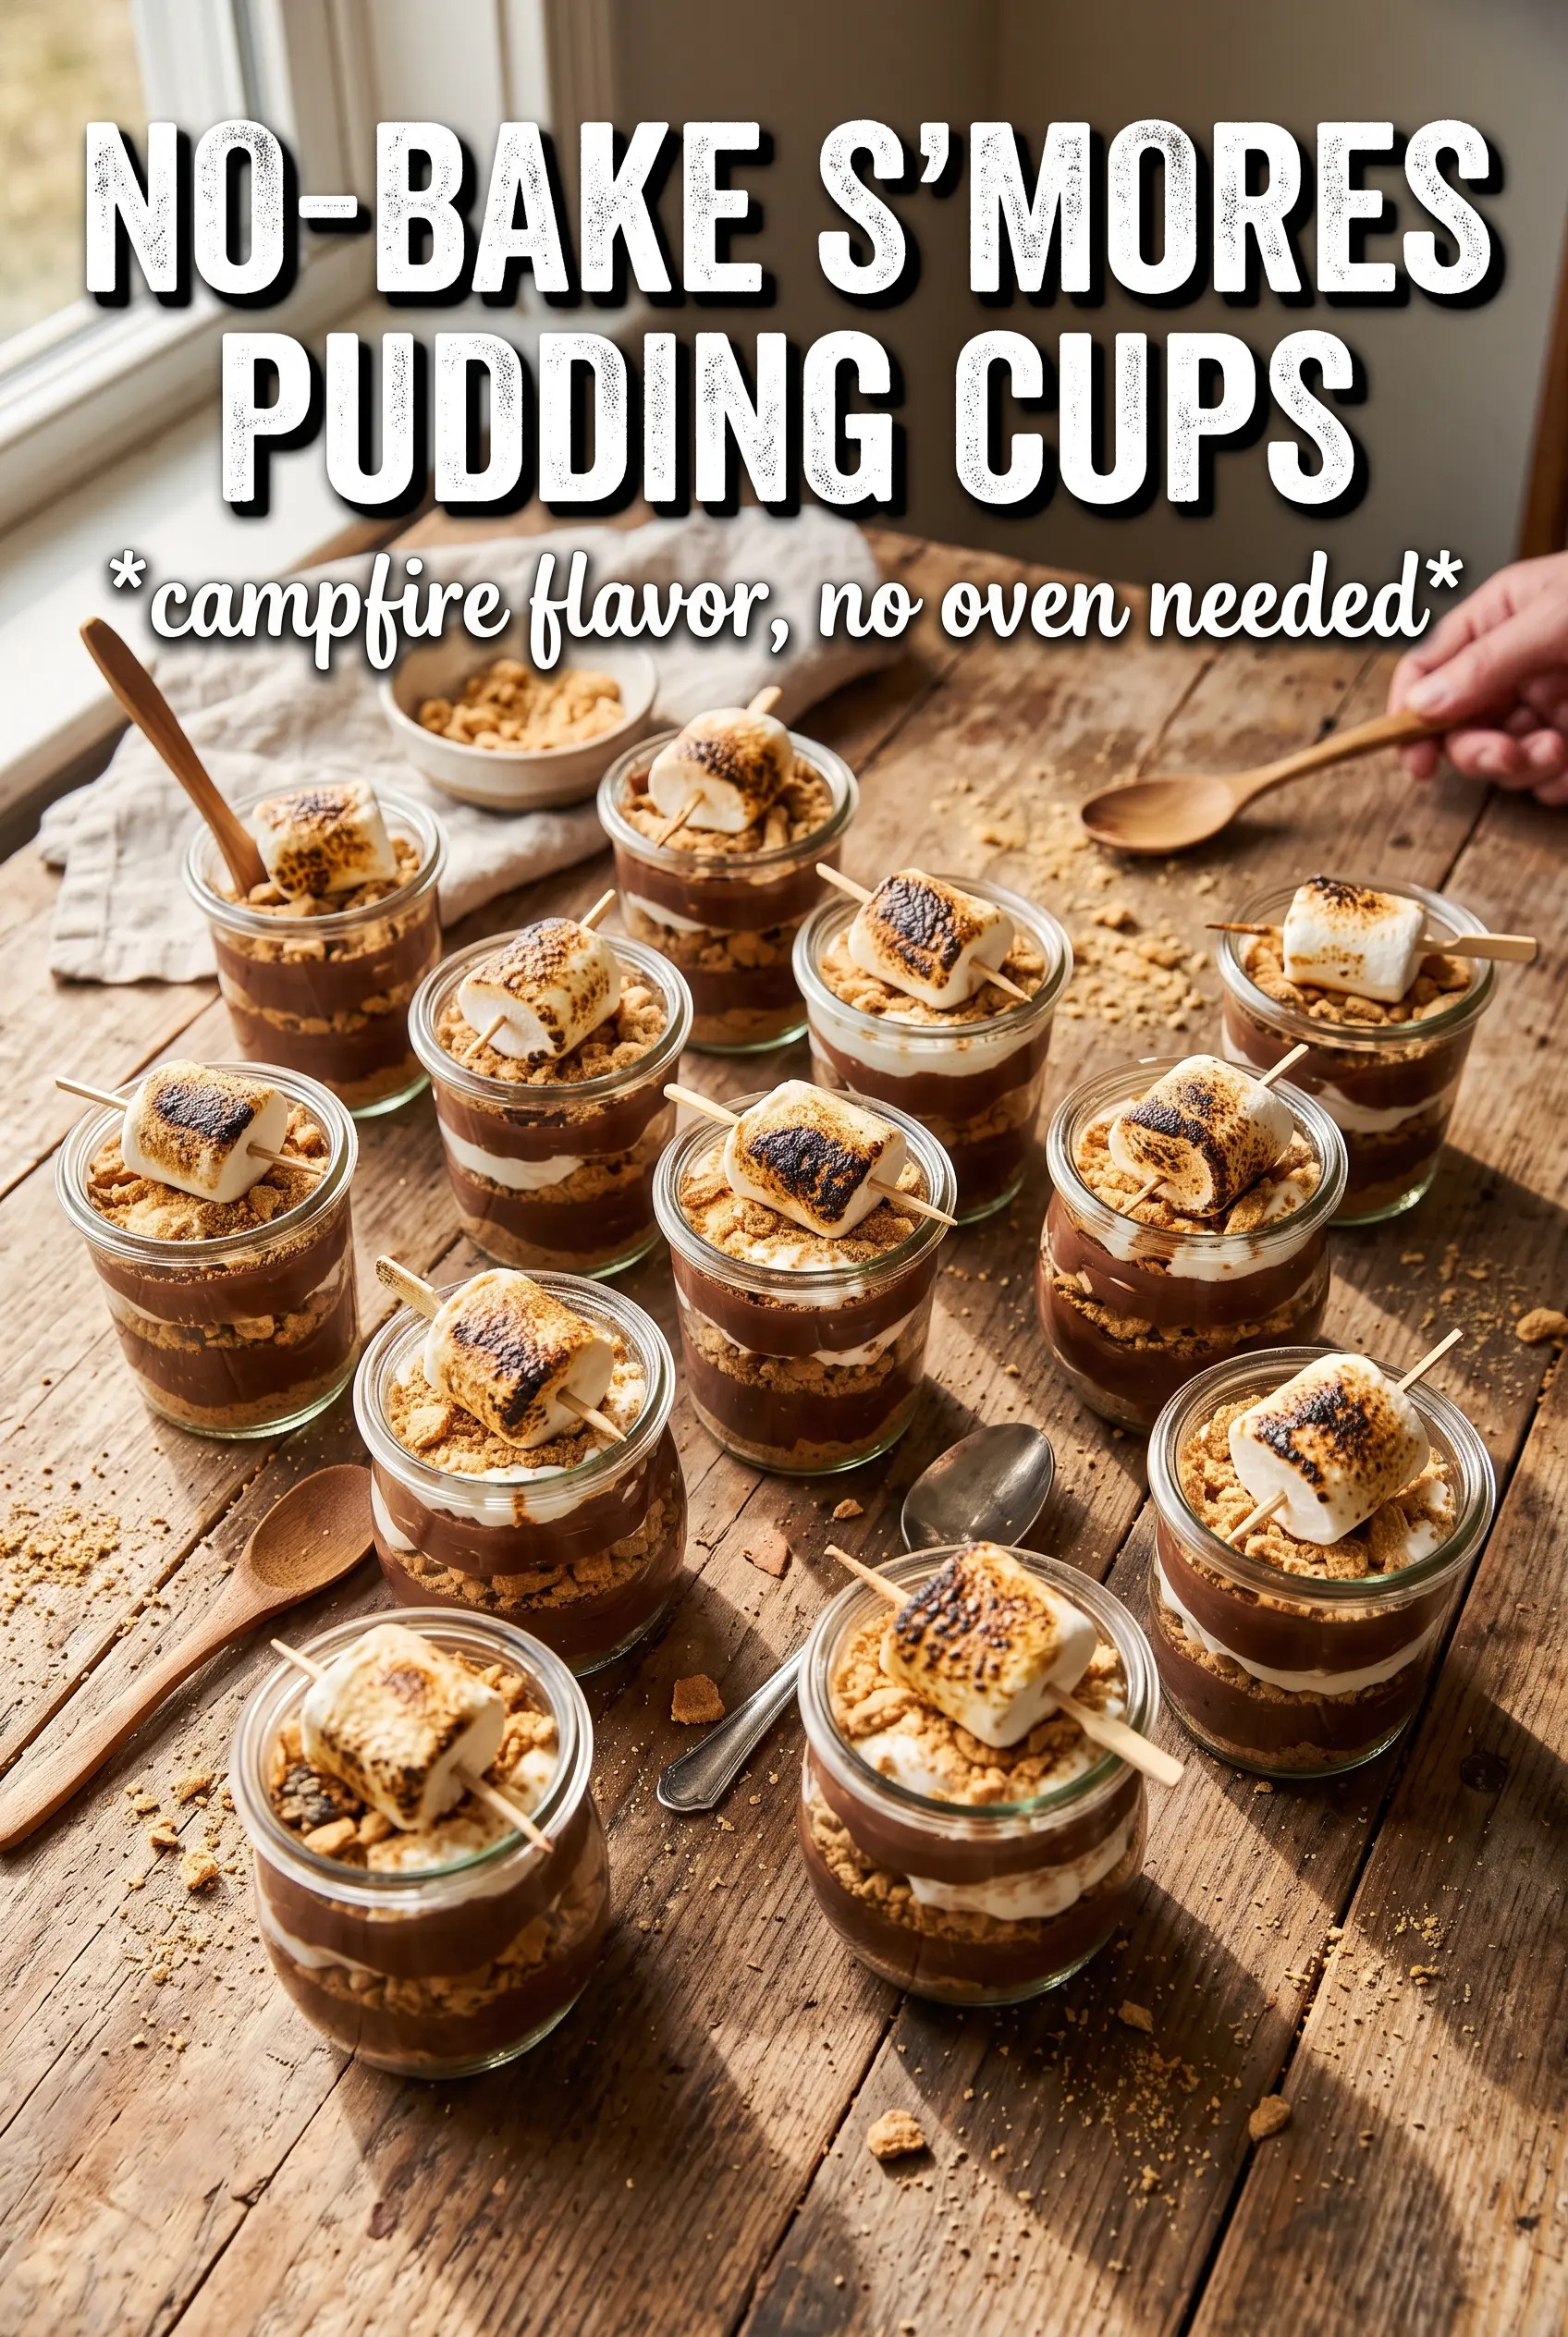
Layer the cups in the same order each time so the finished dessert looks clean in the glass: crumbs, pudding, marshmallow cream, then repeat if your cups are tall enough. Finish with a little crumble on top, then mini marshmallows and chocolate shavings. Chill for at least 2 hours so the layers firm up and the crust settles into place. If you want to torch the marshmallows, do it right before serving so the top stays fluffy underneath.
Three Smart Ways to Change These Cups Without Losing the S’mores Idea
Dairy-Free Version
Use plant-based butter, a dairy-free milk that works with instant pudding, and a non-dairy whipped topping. The marshmallow layer will still be sweet and light, but it won’t have quite the same tang or richness from the cream cheese. Check the pudding mix first, since some instant mixes still contain dairy ingredients.
Gluten-Free Crust
Swap in gluten-free graham-style crumbs if you can find them. The texture stays close to the original, but some brands are a little finer, so you may need to go lighter on the butter to keep the base from packing down too hard.
Extra Chocolate Layer
Add a thin second layer of pudding in the middle for a more dramatic dessert cup. It makes the cups richer and a little more filling, but keep the layers thin so the marshmallow still stands out and the dessert doesn’t feel heavy.
Storage and Reheating
- Refrigerator: Store covered for up to 3 days. The graham layer softens a little after the first day, but the cups still hold together well.
- Freezer: I don’t recommend freezing these. The pudding and marshmallow layers can turn watery and separated after thawing.
- Reheating: No reheating needed. Serve them cold, and if you want the marshmallow tops toasted, use a kitchen torch right before serving instead of trying to warm the whole cup.
Questions I Get Asked About This Recipe
No-Bake S'mores Pudding Cups
Ingredients
Method
- Mix graham cracker crumbs, melted butter, and sugar until combined, with a sandy, evenly coated texture.
- Whisk instant chocolate pudding and cold whole milk for 2 minutes until thickened and glossy.
- Refrigerate the pudding for 5 minutes to set slightly before layering.
- Beat marshmallow fluff and softened cream cheese together until smooth and free of lumps.
- Fold in whipped topping until the mixture is light and holds soft peaks.
- Layer in 6 individual cups starting with graham cracker crumble as the first even layer.
- Spoon chocolate pudding over the graham layer until covered, creating a dark center layer.
- Add marshmallow cream over the pudding to form a fluffy top layer, then repeat graham, pudding, and marshmallow once more per cup.
- Top each cup with extra graham cracker crumble, mini marshmallows, and chocolate shavings for the classic s'mores look.
- Refrigerate the cups for at least 2 hours until fully set and scoopable.
- Torch the mini marshmallows just before serving if desired, until lightly golden at the edges (watch closely to avoid burning).