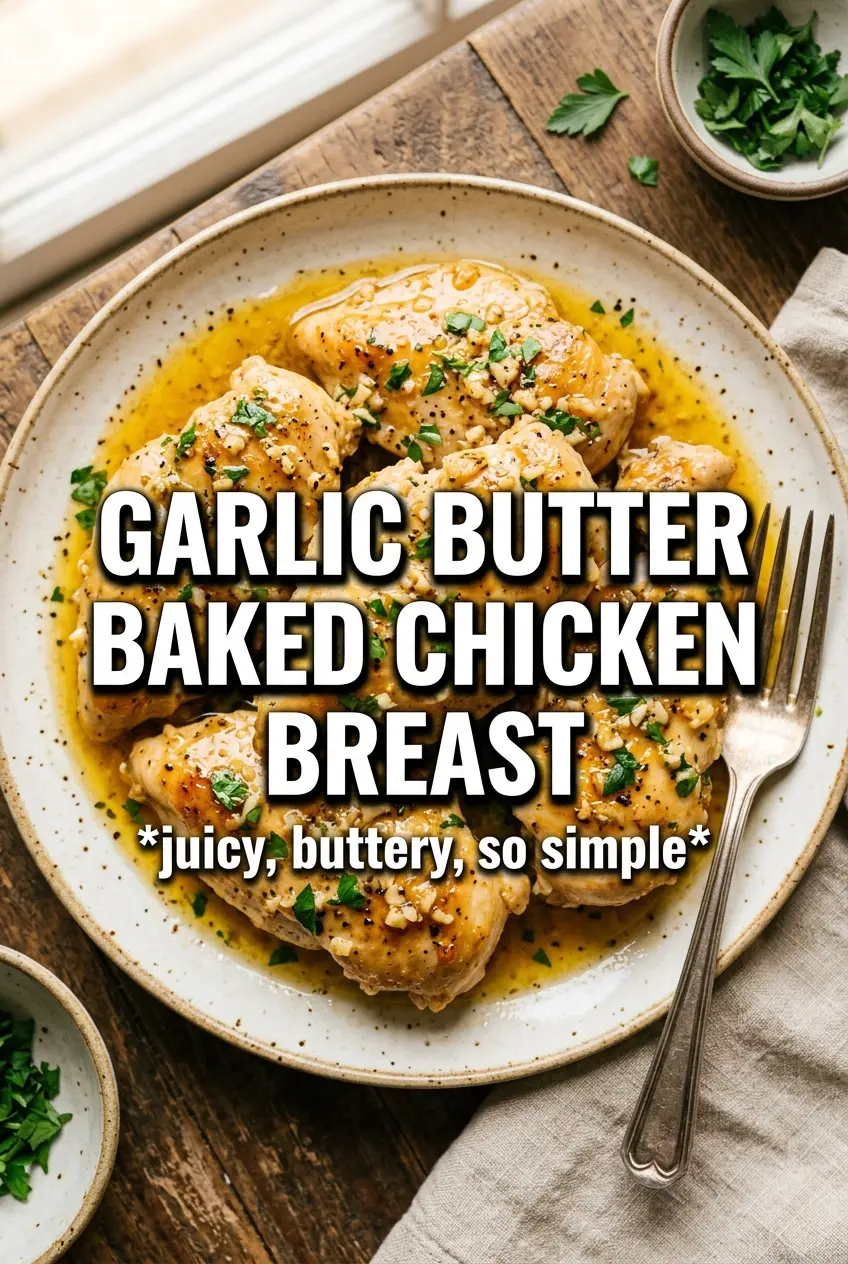
Garlic butter baked chicken breast lands on the table juicy, browned at the edges, and coated in a pan sauce that tastes like it came from a much more involved dinner. The butter bakes into a glossy glaze instead of disappearing into the pan, and that little bit of caramelization around the garlic and herbs gives each bite more depth than plain baked chicken ever has.
The trick is keeping the chicken breasts from drying out while still giving the top enough heat to take on color. A hot oven, a short bake, and a halfway baste do the heavy lifting here. The lemon juice brightens the butter without turning it sharp, and the smoked paprika adds a gentle savory edge that keeps the whole dish from tasting flat.
Below, I’ll show you how to keep the chicken juicy, why the butter mixture works better than a dry seasoning rub alone, and what to change if your chicken breasts are extra large or you need a dairy-free version.
The chicken stayed juicy all the way through, and the garlic herb butter pooled in the pan into the best spoon-over sauce. I basted at the halfway point like you said and the tops came out golden instead of dry.
Save this garlic butter baked chicken breast for the nights when you want juicy chicken, a glossy herb butter sauce, and one pan to clean.
The Reason This Chicken Stays Juicy Instead of Drying Out
Chicken breasts dry out when they spend too long in the oven after the center has already come up to temperature. This recipe avoids that by using a hot oven and a short bake, then relying on the butter baste to keep the surface protected while the meat finishes. You’re not trying to slow-cook the chicken here. You’re trying to move fast enough that the outside browns before the inside overcooks.
The other quiet win is the pan juices. As the butter melts, it carries the garlic and herbs across the chicken and collects at the bottom of the dish, where it thickens slightly and picks up flavor from the drippings. That’s the spoon-over sauce. If your chicken is pale and bland, it usually means the pan was crowded, the oven ran too cool, or the butter mixture never got a chance to contact the meat directly.
- Use chicken breasts that are close to the same size so they finish at the same time.
- If one side is much thicker, pound it lightly or slice the breast horizontally so the center doesn’t lag behind.
- Don’t skip the halfway baste. It refreshes the surface and helps the top pick up color instead of drying into a crust.
- Pull the dish when the thickest part hits 165°F, then let it rest. Carryover heat finishes the job without squeezing out the juices.
What the Garlic Butter Is Doing Beyond Just Tasting Good
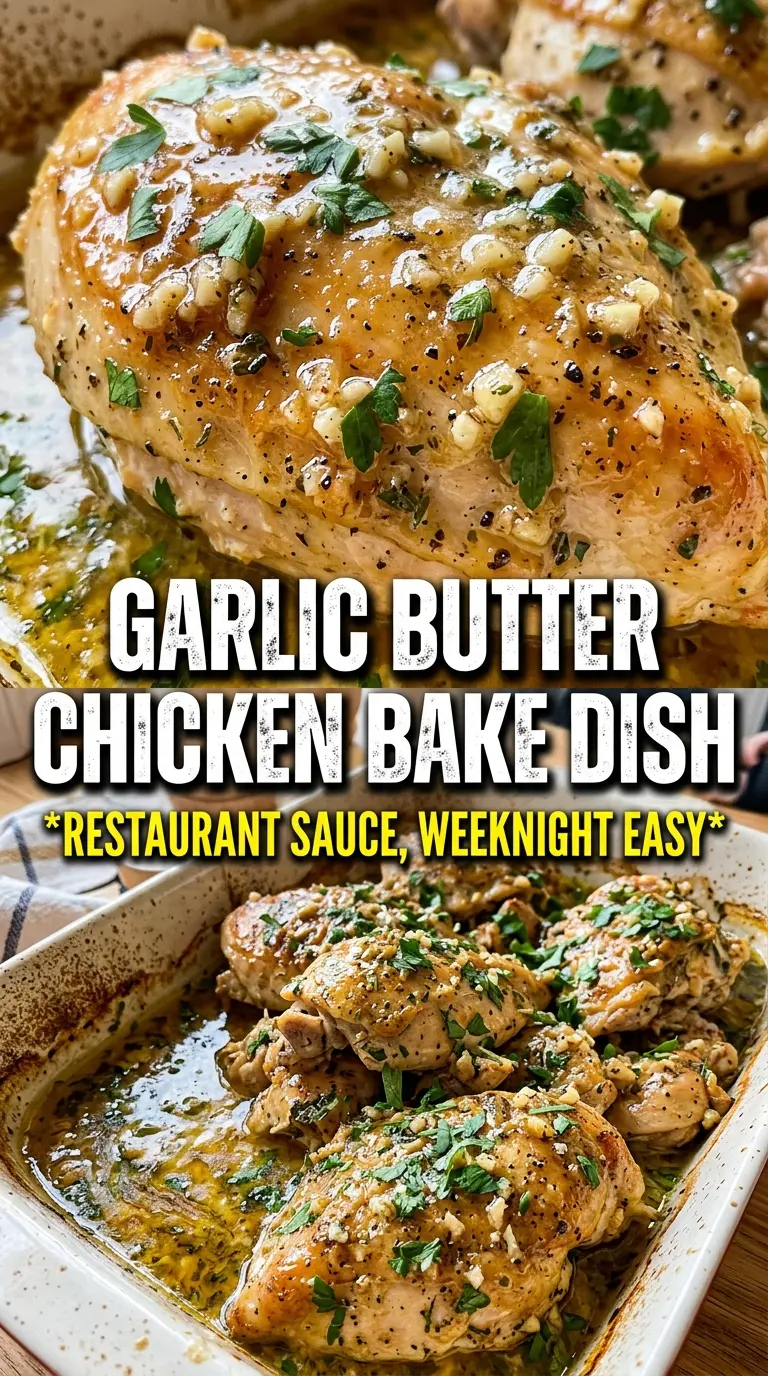
- Butter — This is the base of the sauce and the browning agent. You can use salted or unsalted butter, but unsalted gives you more control since the chicken is already seasoned. Olive oil won’t give you the same rich pan juices or the same plush coating.
- Garlic — Fresh minced garlic matters here because it softens and sweetens in the oven. Garlic powder adds backup seasoning, but it can’t replace the fragrant, roasted garlic bits that cling to the chicken. If your garlic tends to burn, mince it finely and keep it tucked into the butter rather than scattering it dry.
- Fresh herbs — Parsley, thyme, and rosemary bring brightness and a savory edge. Dried herbs can work in a pinch, but use less and crush them between your fingers first so they wake up in the butter. Rosemary is the strongest of the three, so keep it finely minced.
- Lemon juice — A little acid keeps the butter from tasting heavy. Fresh lemon juice is worth using here because bottled juice can taste flat and slightly metallic after baking. The lemon wedges at the table add the last burst of freshness after the rich butter sauce.
- Smoked paprika — This doesn’t make the dish smoky in a barbecue way. It deepens the color and gives the chicken a warmer, more rounded finish. If you only have sweet paprika, the chicken will still work, but the flavor will be a little softer.
Building the Butter Sauce So It Stays Glossy in the Oven
Season the Chicken First
Lay the chicken breasts in the baking dish and season both sides before the butter goes on. The dry seasoning gives the meat flavor on its own instead of leaving everything up to the sauce. If you season only the top, the bottom stays flat and the pan juices never taste as complete. A light, even coating is enough; heavy clumps of spice can taste harsh after baking.
Mix the Butter Just Before It Hits the Pan
Stir the melted butter with the garlic, herbs, and lemon juice until it looks evenly flecked. Don’t let the garlic sit in hot butter for too long before baking or it can lose some of its brightness. The butter should be liquid enough to pour, with the herbs suspended through it, not sunk to the bottom of the bowl.
Bake Hot, Then Baste Once
Pour the butter over each breast and send the dish into a fully preheated 425°F oven. Halfway through, spoon the pan juices over the chicken so the top stays moist and starts to color. If the dish looks dry at the halfway point, that usually means the chicken breasts were very lean or very large; just tilt the pan and gather the butter from the corners before basting. The goal is a lightly bronzed surface, not a crust.
Rest Before Slicing
When the thickest part reaches 165°F, pull the dish and let the chicken rest for 5 minutes. That pause keeps the juices inside the meat instead of spilling onto the cutting board. Slice too soon and the center can look drier than it actually is. Spoon the pan juices over the chicken right before serving so the butter stays silky and warm.
How to Adapt This for Bigger Crowds, Dairy-Free Plates, or a Different Herb Mix
Dairy-Free Version
Swap the butter for a good olive-oil-based plant butter or a dairy-free butter stick that melts cleanly. You’ll lose a little of the classic richness, but the garlic, herbs, and lemon still carry the dish. Keep the pan juices and baste exactly the same way so the chicken stays moist.
Using Chicken Thighs Instead
Boneless skinless thighs work well if you want a richer, more forgiving cut. They usually need a few extra minutes in the oven, and they’ll give you a little more pan fat, which makes the sauce taste deeper. Keep an eye on the color; thighs brown faster on the surface than breasts but can still use the same butter mixture.
Changing the Herb Mix
If you don’t have rosemary, use more thyme or add a little oregano for a softer herb note. Rosemary is strong and piney, so replacing it with dried Italian seasoning will change the dish, but it still tastes good. Keep parsley in the mix if you can; it brightens the butter at the end.
Storage and Reheating
- Refrigerator: Store leftovers in an airtight container for up to 4 days. The chicken stays moist, but the butter sauce will firm up when chilled.
- Freezer: It freezes well for about 2 months if you wrap portions tightly and include some of the pan juices. Freeze after cooling completely so the texture stays as close to fresh as possible.
- Reheating: Rewarm covered in a 325°F oven with a spoonful of the pan juices or a splash of broth until just heated through. The main mistake is blasting it in the microwave, which tightens the meat and leaves the sauce separated.
Questions I Get Asked About This Recipe
Garlic Butter Baked Chicken Breast
Ingredients
Equipment
Method
- Preheat the oven to 425°F and lightly grease a baking dish so the chicken won’t stick.
- Season the chicken breasts on both sides with salt, pepper, garlic powder, and smoked paprika for even flavor.
- Melt the butter, then stir in the garlic, parsley, thyme, rosemary, and lemon juice until combined and fragrant.
- Place the chicken in the prepared dish and pour the garlic herb butter over each breast, coating thoroughly so the surface glistens.
- Bake for 20–25 minutes, basting with the pan juices once at the halfway point, until the internal temperature reaches 165°F.
- Rest the chicken for 5 minutes so the juices settle and the butter sauce thickens slightly.
- Serve with the pan juices spooned over the chicken and lemon wedges alongside.