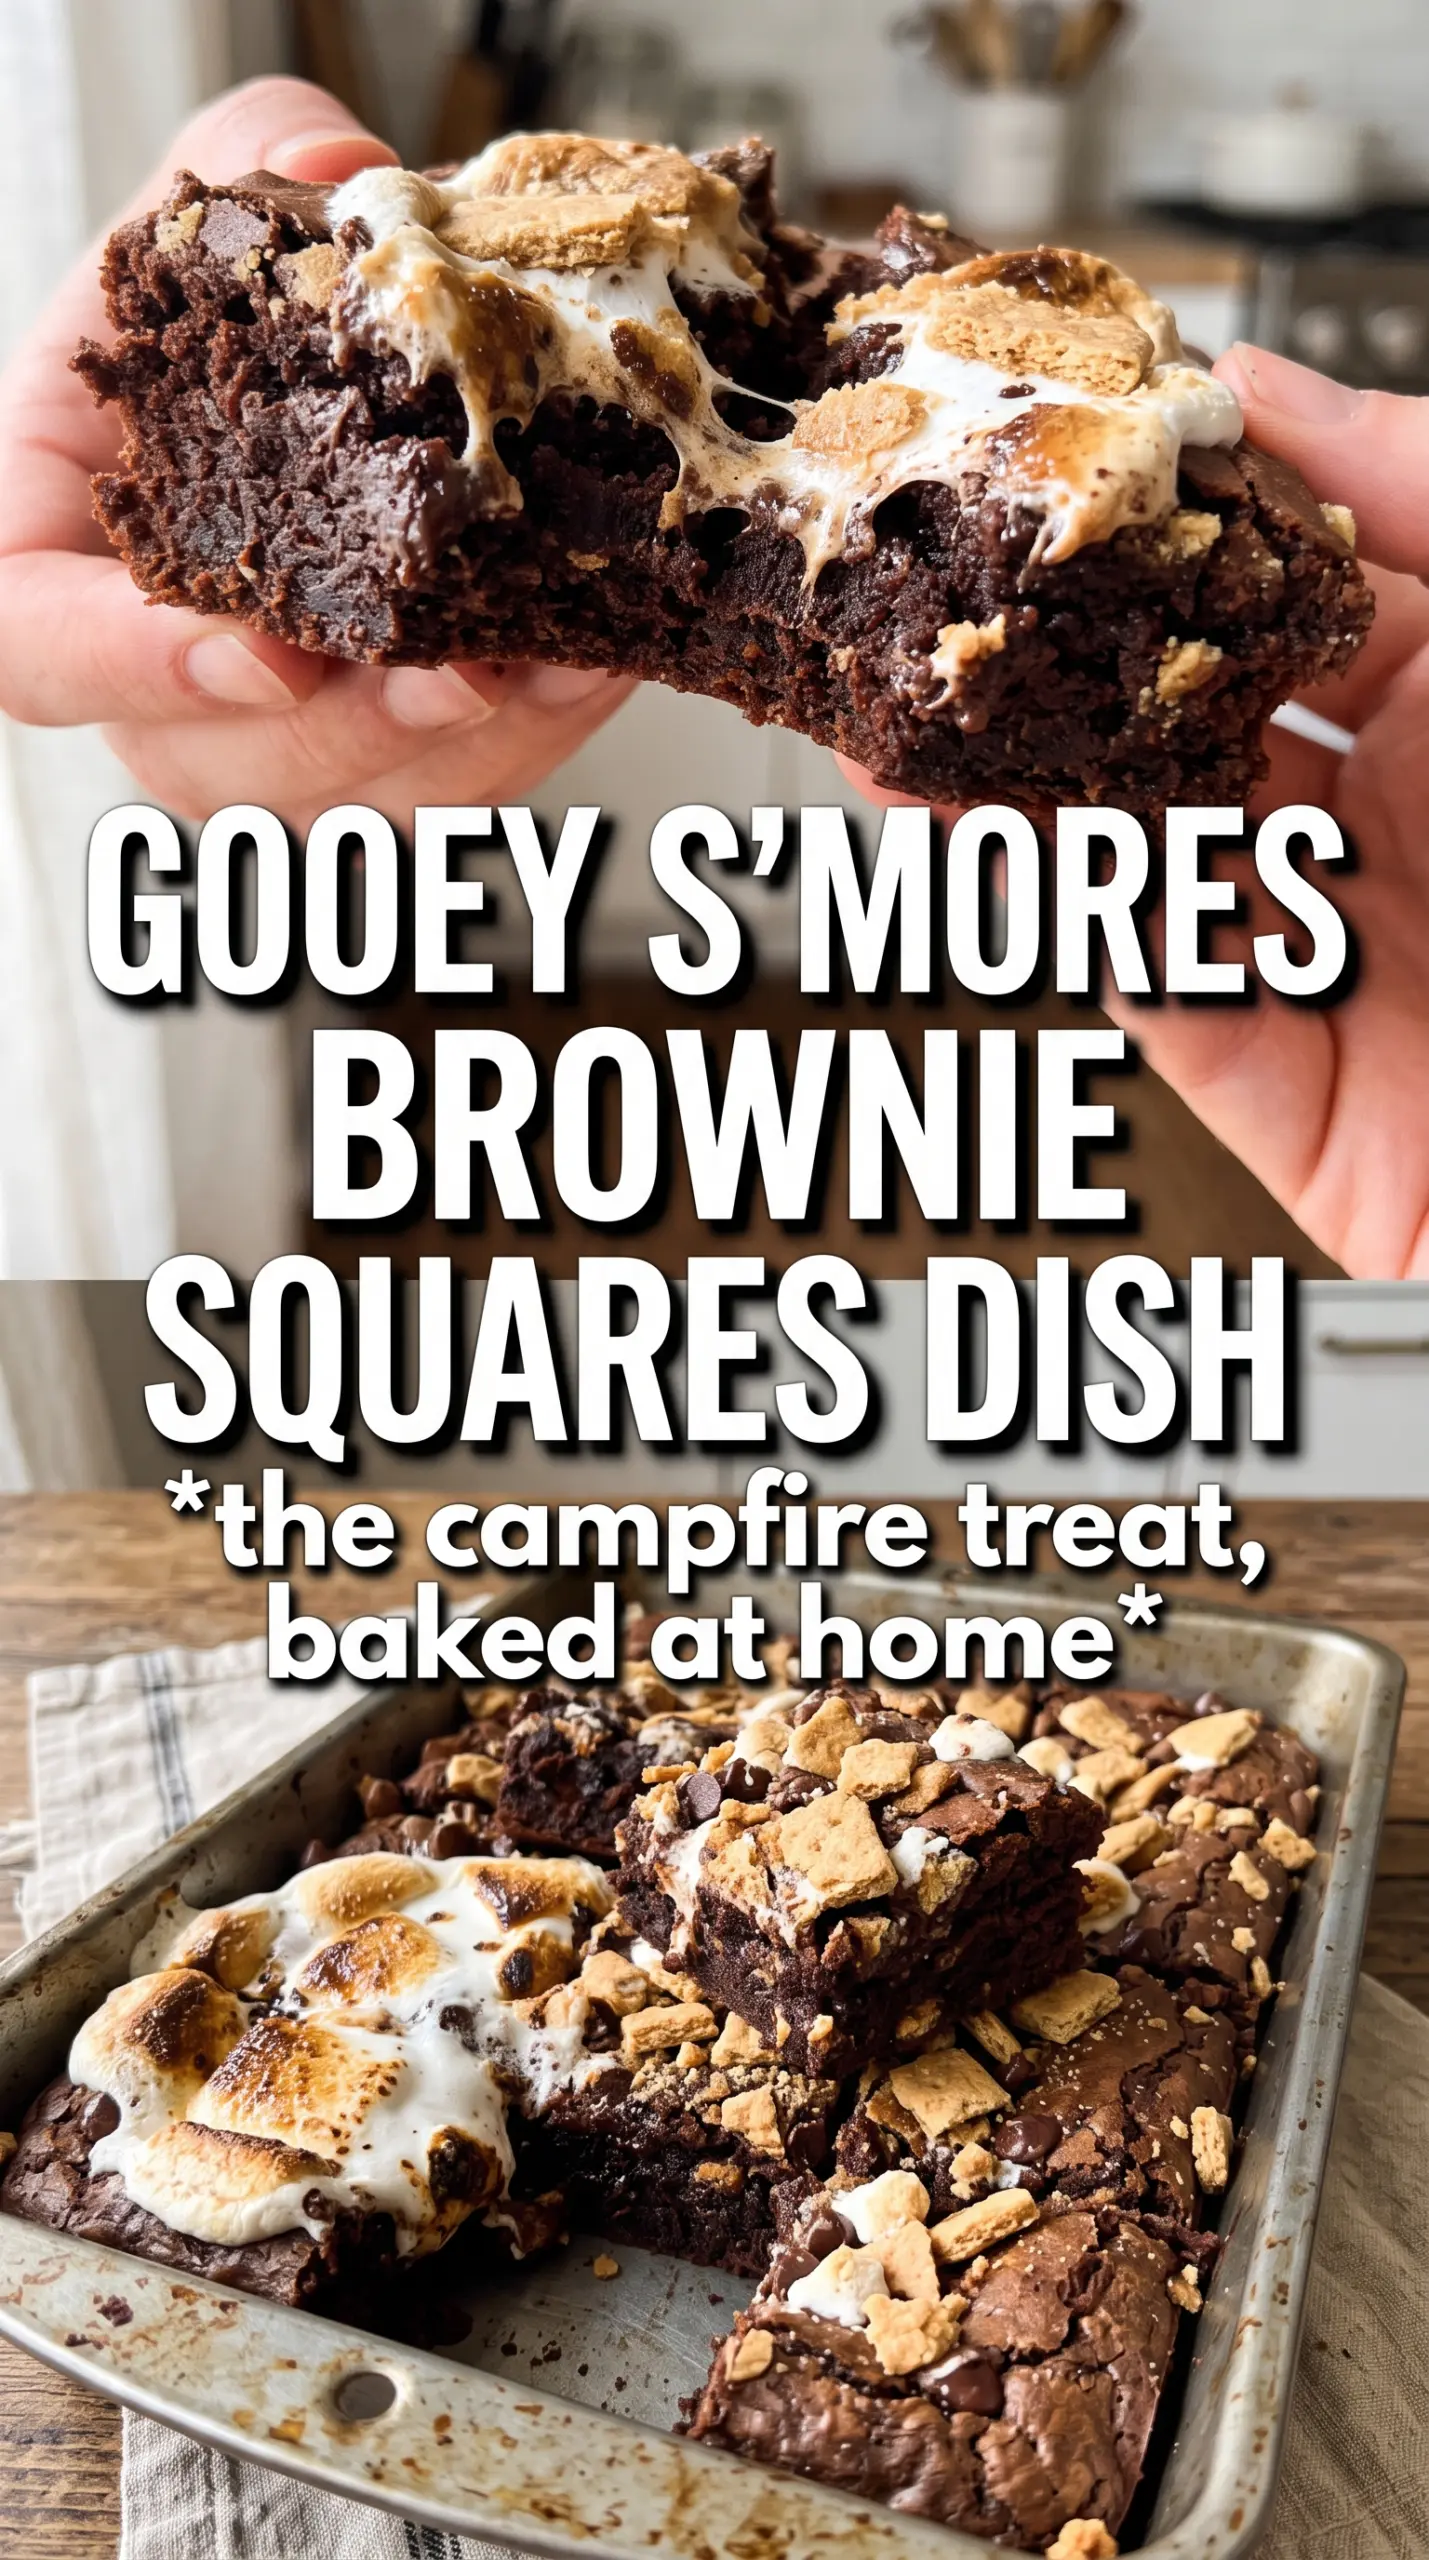
Fudgy brownies on a graham cracker crust hit a sweet spot that plain brownies never quite reach. You get that dense, chocolate-heavy middle, then a buttery base that tastes like the best part of a campfire treat, and finally a toasted marshmallow top that turns sticky, golden, and a little crisp at the edges. The chocolate drizzle seals the whole thing together.
This version works because each layer is built for contrast. The graham crust gets a short bake first, which keeps it from turning soggy under the brownie batter. The brownie itself is mixed just until smooth, so it stays rich instead of cakey, and the marshmallows go on at the end so they melt and toast without disappearing into the batter.
Below, I’ll walk through the one broiler step that matters most, plus the small details that keep the crust sturdy and the brownies easy to cut cleanly once they’ve cooled.
The marshmallows browned evenly and the brownie layer stayed fudgy underneath. I cooled it the full 30 minutes and got clean squares instead of a gooey mess.
Like this s’mores brownie recipe? Save it for the nights when you want a graham crust, fudgy center, and toasted marshmallow top all in one pan.
The Crust Needs a Quick Bake Before the Brownie Batter Goes In
The graham layer has to set before the brownie batter lands on top. If you skip that short bake, the butter in the crust loosens under the batter and you lose the clean, cookie-like base that makes these bars stand out. Press it firmly and evenly into the pan so it bakes into a compact layer instead of crumbling when you slice it later.
The brownie batter is rich enough on its own, so the crust doesn’t need extra sugar tricks or a long bake. The goal is a base that tastes toasted and holds together, not one that turns hard. A six-minute head start is enough to give it structure without drying it out.
What the Marshmallows and Chocolate Are Doing on Top
- Graham cracker crumbs — Finely ground crumbs pack tighter and bake into a sturdier crust. If yours are a little coarse, crush them more before mixing so the base doesn’t fall apart when you cut the bars.
- Butter — Melted butter is what binds both the crust and the brownie. For the crust, it should fully coat the crumbs; for the brownie, it gives a dense, moist texture without needing creaming or extra steps.
- Cocoa powder — Unsweetened cocoa delivers the dark brownie flavor here. Dutch-process or natural both work, but natural cocoa gives a slightly sharper chocolate edge that plays nicely with the sweet marshmallows.
- Mini marshmallows — Mini marshmallows melt and toast faster and more evenly than large ones. If you only have large marshmallows, cut them into smaller pieces so the top browns instead of burning in spots before the center softens.
- Chocolate chips — Melted chips make the drizzle thick enough to stay visible on top. Semisweet gives the best balance here; milk chocolate makes the whole pan sweeter, which can crowd out the graham flavor.
Building the Layers So They Slice Cleanly
Pressing and Prebaking the Crust
Mix the graham crumbs, sugar, and melted butter until the mixture feels like damp sand, then press it into a parchment-lined 9×13 pan with the bottom of a measuring cup. You want a tight, even layer that reaches the corners. Bake it just until it looks set and smells toasty, because a pale, unbaked crust will turn soft under the brownie batter.
Mixing the Brownie Batter Without Adding Air
Whisk the melted butter and sugar until combined, then whisk in the eggs and vanilla until the mixture looks glossy. Stir in the dry ingredients just until no streaks of flour remain. If you beat it hard at this stage, the brownies bake up more cakey and lose that dense, fudgy middle that makes the bars work.
Broiling the Marshmallows Without Burning Them
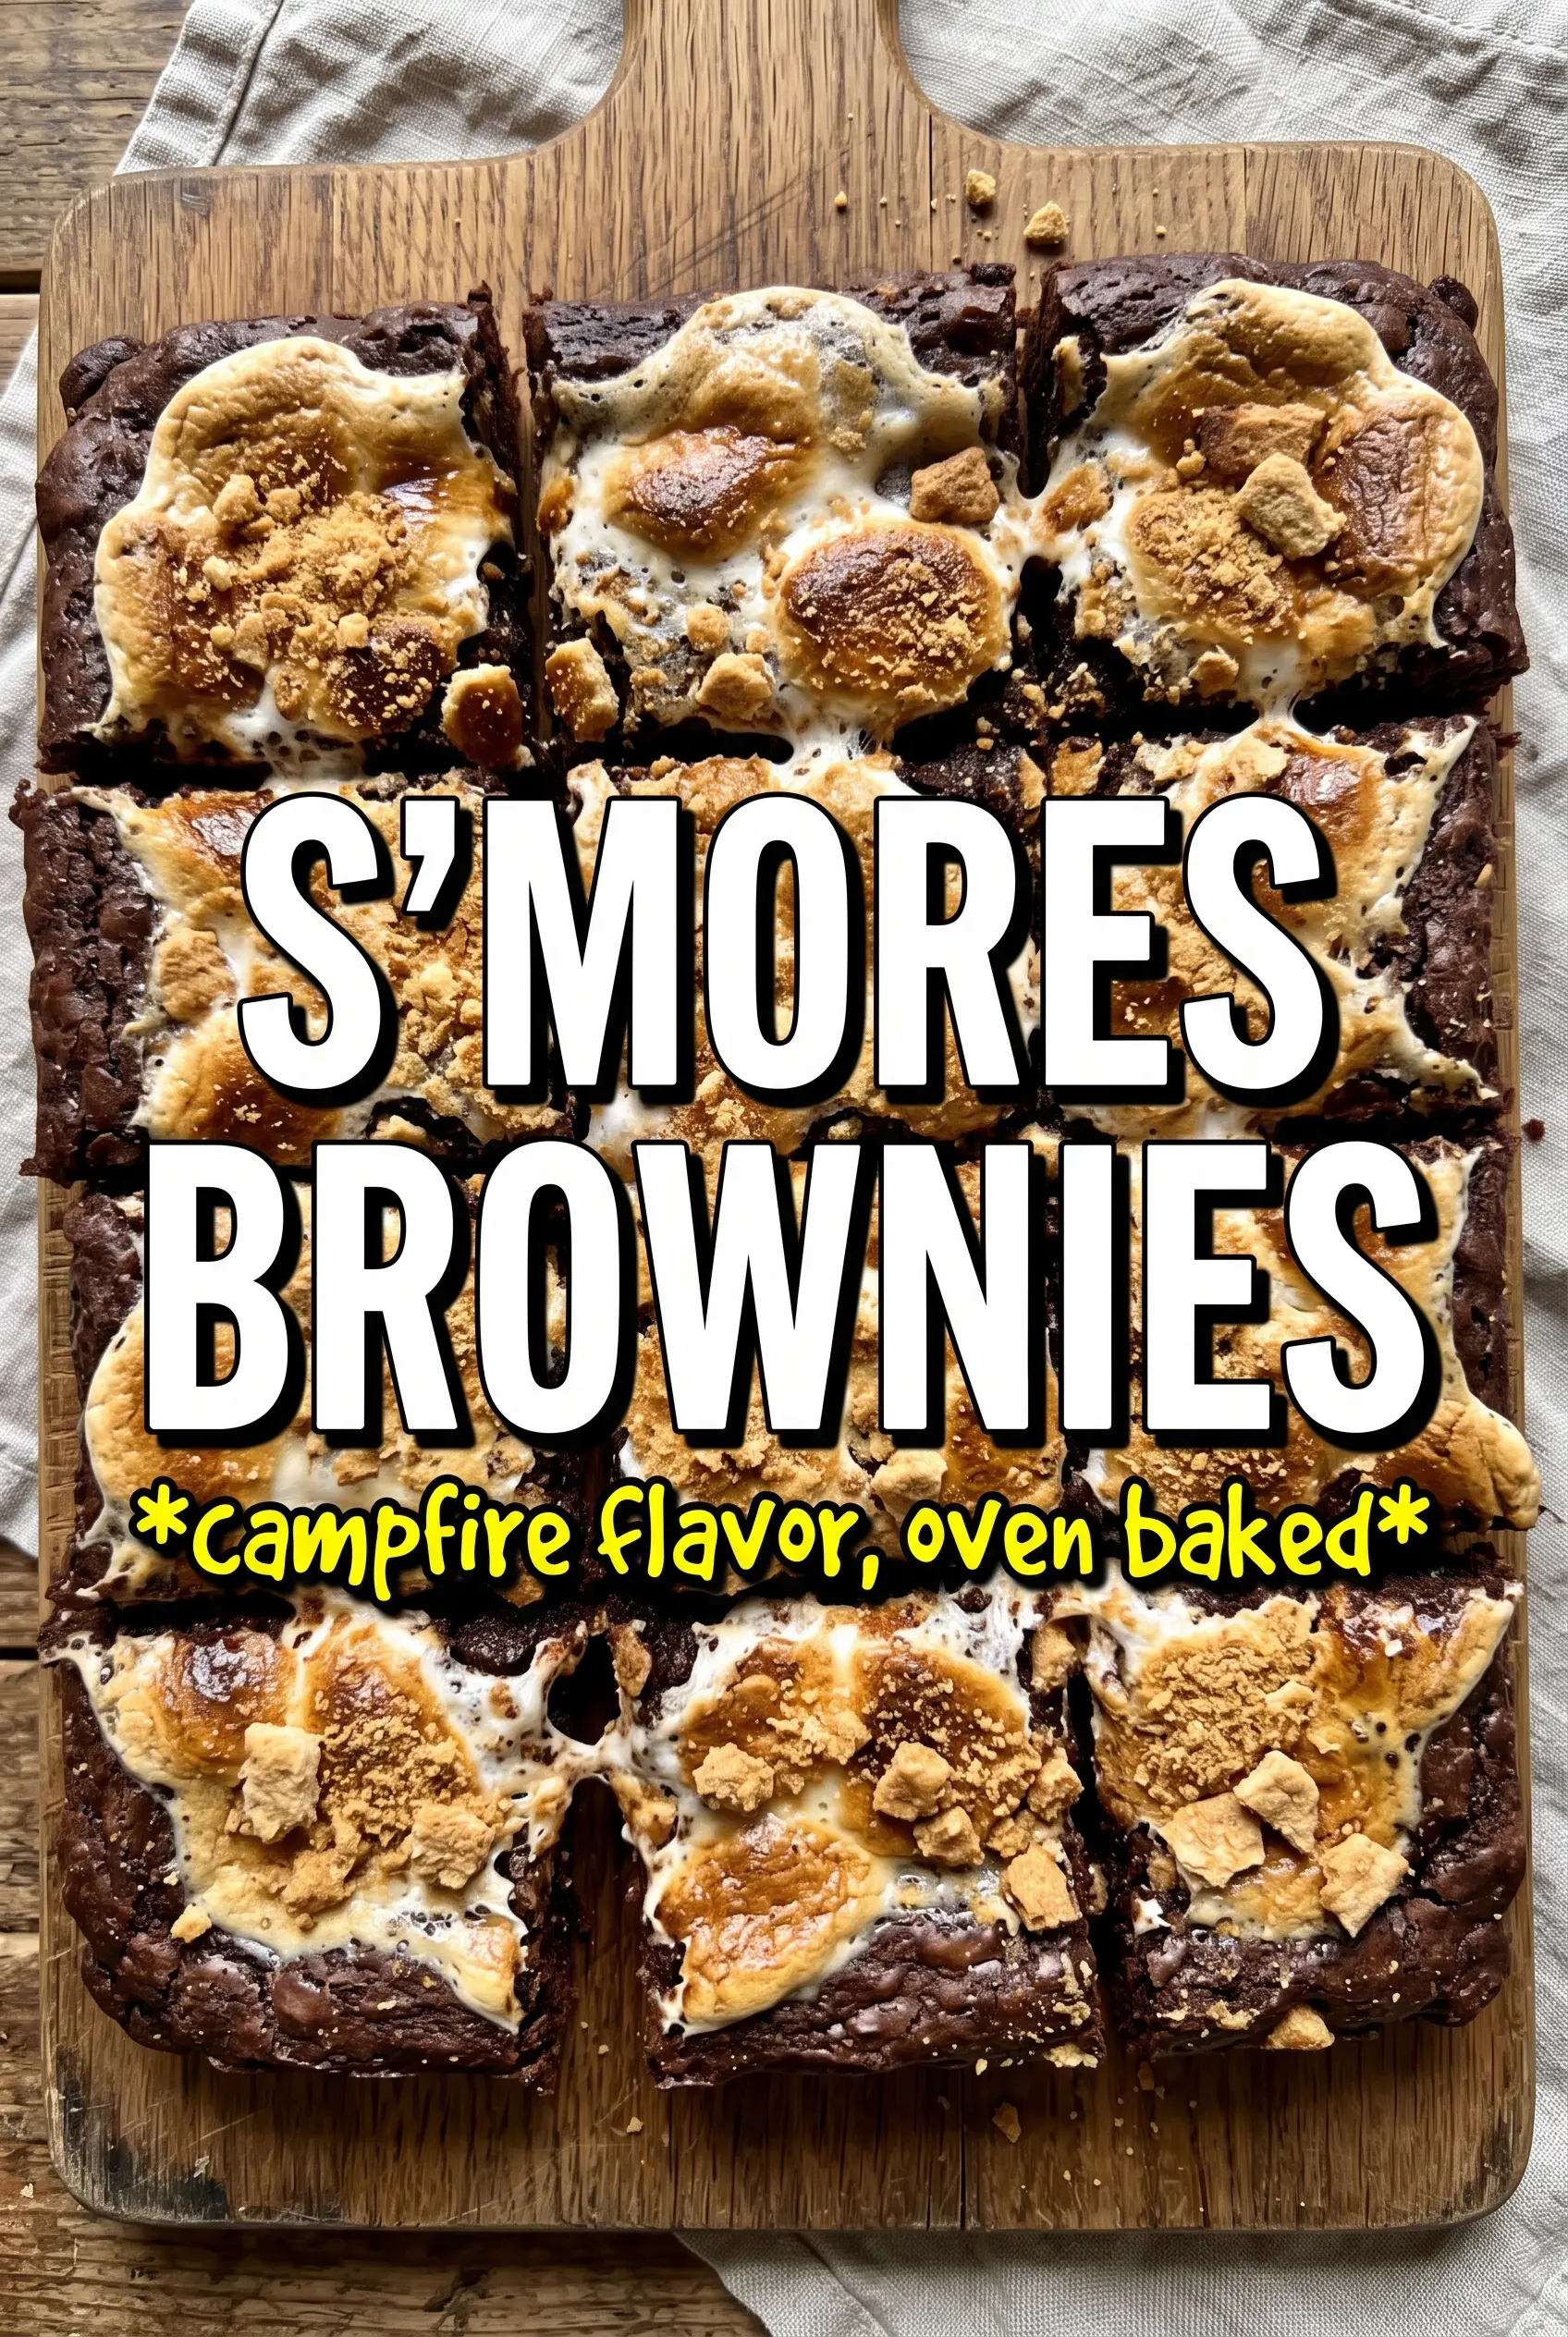
Scatter the marshmallows over the baked brownies and place the pan under a hot broiler. Stay close; this goes from pale to toasted in a minute or two. Pull the pan as soon as the tops are golden and bubbly, because the marshmallows keep coloring from residual heat even after they leave the oven.
Cooling Before the Chocolate Drizzle
Let the pan cool for the full 30 minutes before drizzling on the melted chocolate. If you cut too early, the brownie layer smears and the marshmallow topping pulls away in long sticky strands. A buttered knife helps the squares release cleanly, especially once the chocolate has set enough to hold the top together.
How to Adjust These Bars for Different Kitchens and Crowds
Gluten-Free Version
Use certified gluten-free graham crackers for the crust and a 1:1 gluten-free flour blend in the brownie batter. The texture stays close to the original, though the brownie layer may be a touch more tender, so let it cool fully before slicing.
Dairy-Free Swap
Use plant-based butter in both the crust and brownie batter, then drizzle with dairy-free chocolate chips. The brownies still bake up fudgy, but the marshmallow topping should be checked a little earlier under the broiler because dairy-free toppings can darken faster.
Extra Chocolate, Less Sweet
Swap half the semisweet chocolate chips for dark chocolate chips in the drizzle. That keeps the top from tasting overly sugary and gives you a deeper chocolate finish that balances the marshmallows better.
Make-Ahead and Storage
These bars keep well, but the marshmallow top is at its best the day they’re made. If you want clean layers for serving later, bake and cool the brownies, then add and broil the marshmallows just before cutting.
Storage and Reheating
- Refrigerator: Store in an airtight container for up to 4 days. The marshmallow layer will firm up, but the brownie stays fudgy.
- Freezer: Freeze tightly wrapped squares for up to 2 months. Freeze without the chocolate drizzle if you want the cleanest finish after thawing.
- Reheating: Warm individual squares for 10 to 15 seconds in the microwave. Longer heating melts the marshmallow into a sticky puddle and softens the crust too much.
Answers to the Questions Worth Asking
S'mores Brownies
Ingredients
Equipment
Method
- Preheat the oven to 350°F and line a 9x13 pan with parchment paper.
- Mix the graham cracker crumbs, sugar, and melted butter, then press firmly into the bottom of the pan; bake for 6 minutes.
- Whisk the melted butter and granulated sugar until smooth, then whisk in the eggs and vanilla extract.
- Stir in the unsweetened cocoa powder, all-purpose flour, baking powder, and salt until smooth, then spread the batter over the graham cracker crust.
- Bake at 350°F for 22-25 minutes, until a toothpick comes out with a few moist crumbs.
- Scatter the mini marshmallows over the top in an even layer.
- Broil on HIGH for 1-3 minutes, watching carefully, until golden and bubbly on top.
- Cool for 30 minutes to set, then drizzle the melted chocolate over the surface.
- Cut into 16 squares using a buttered knife.